|
|
Fabricating the Windshaft | October 31st, 2010 |
While the original windshaft would have been hewn from a single trunk
of white oak, the drying rate of lumber (1 year per inch of thickness)
proved to be too large a hurdle. Consequently, we decided to build up
our windshaft from laminations of pressure treated soutern yellow
pine. In addition to being resistant to decay and insects, the laminated
approach provided a more dimensionally stable form and allowed the
lumber to be shaped as individual planks.
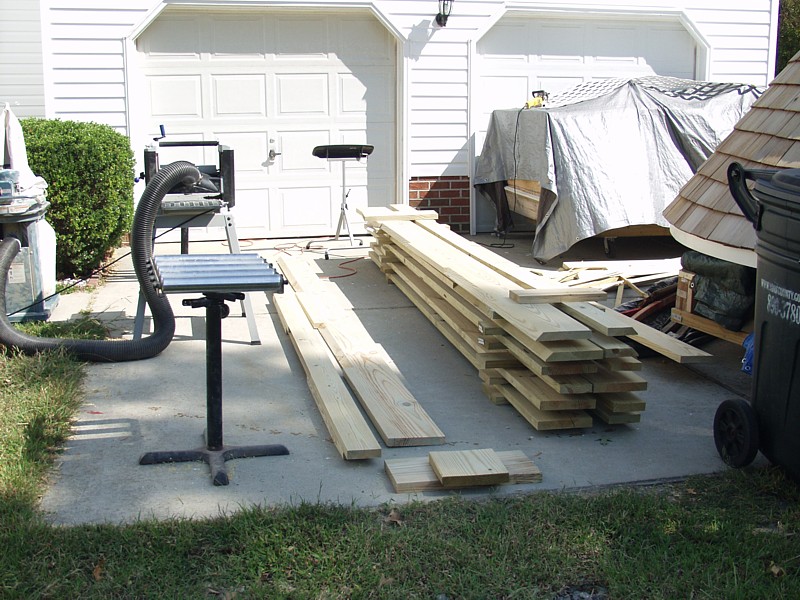
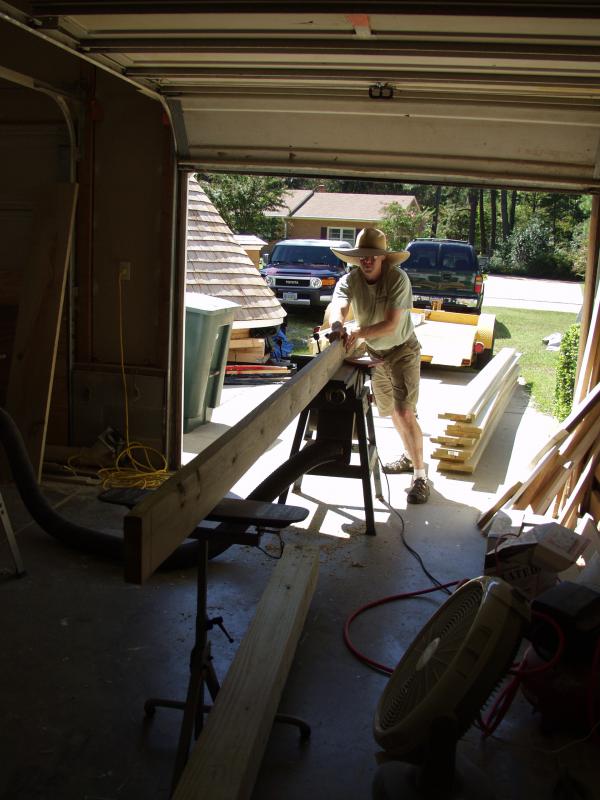
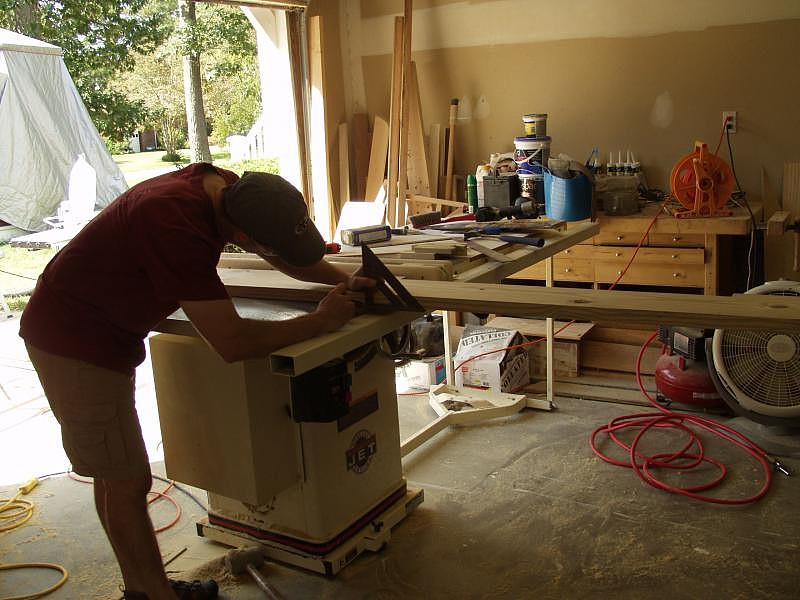
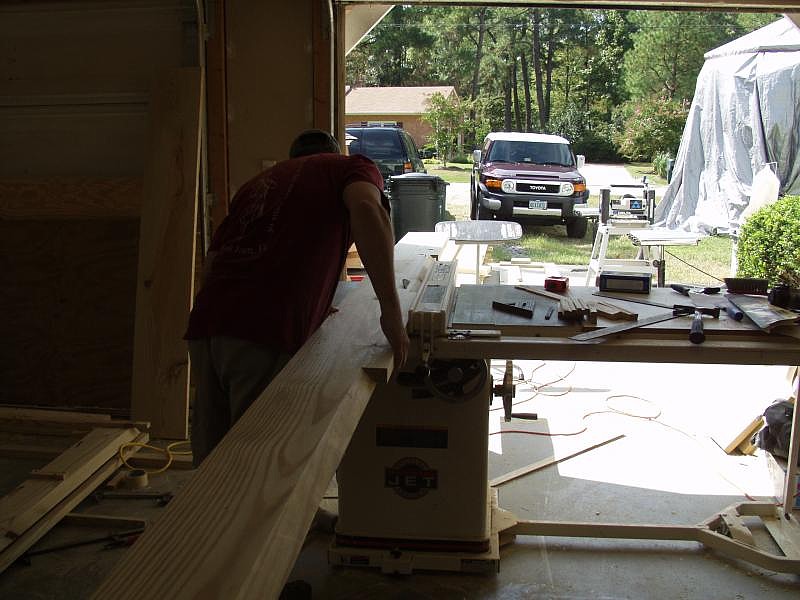
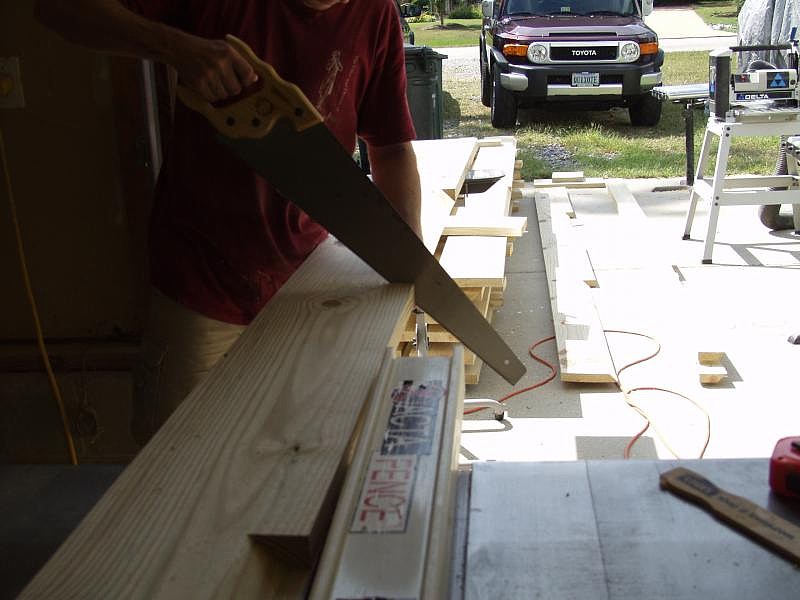
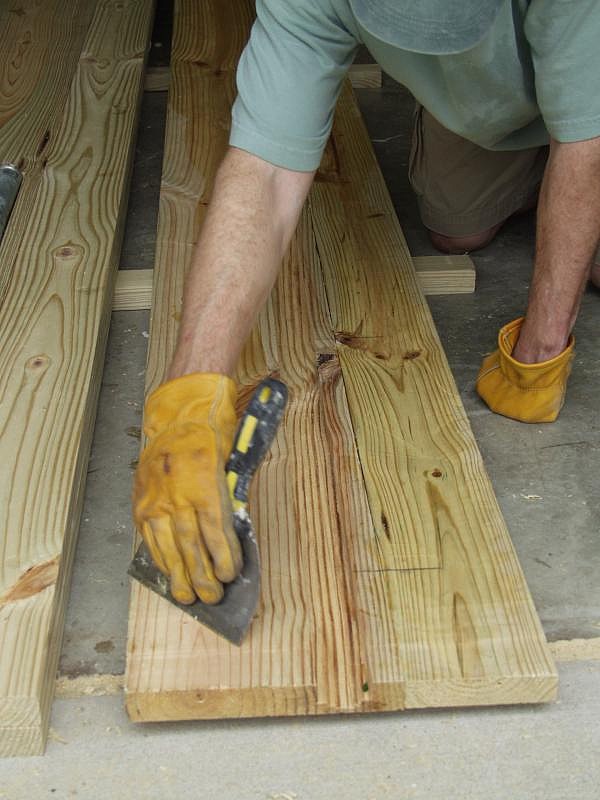
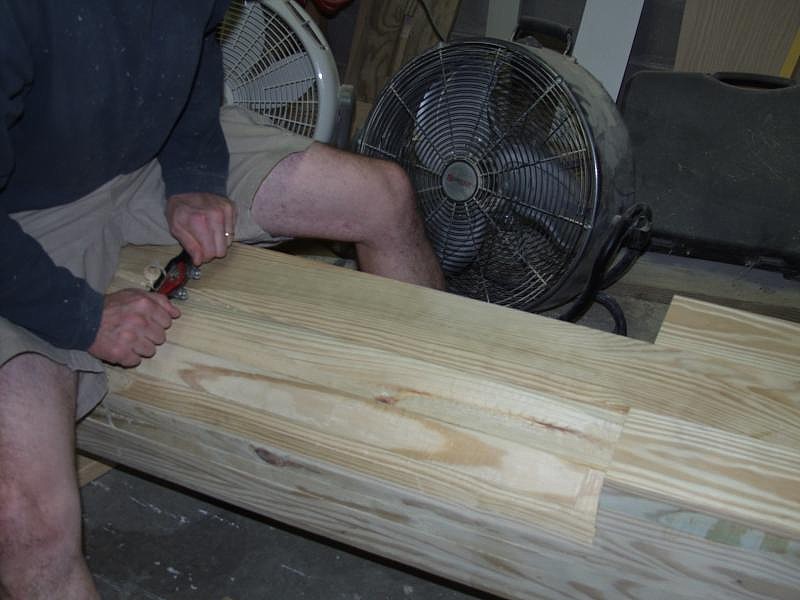
Needless to say, the first step was to get each board to be flat,
square and true... This gave my thickness planer and jointer quite
a workout.

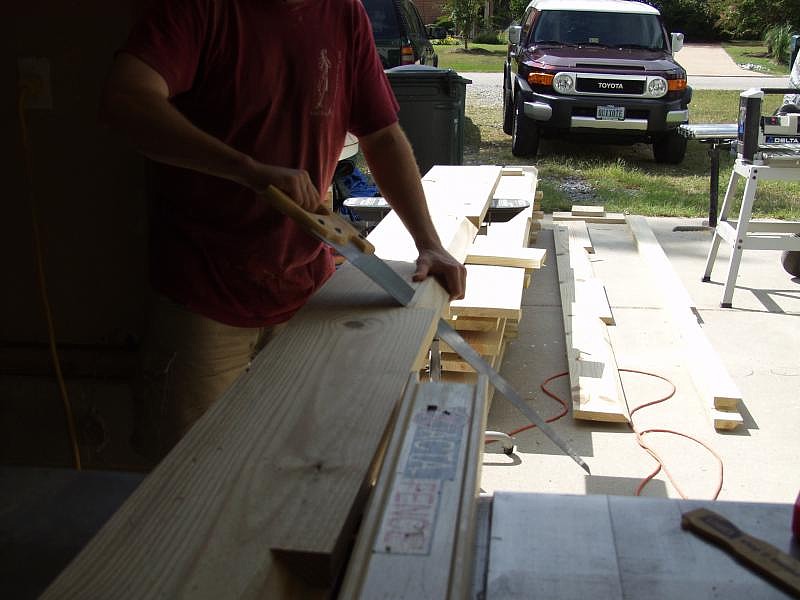
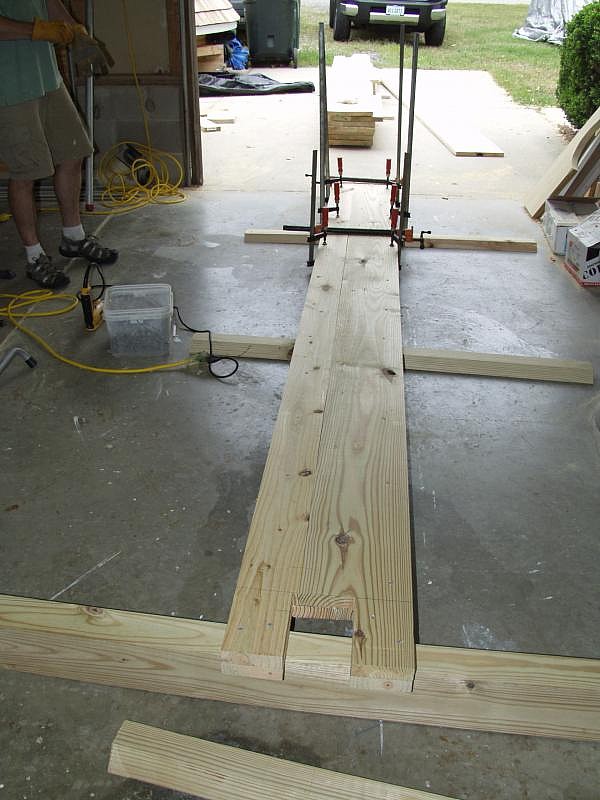
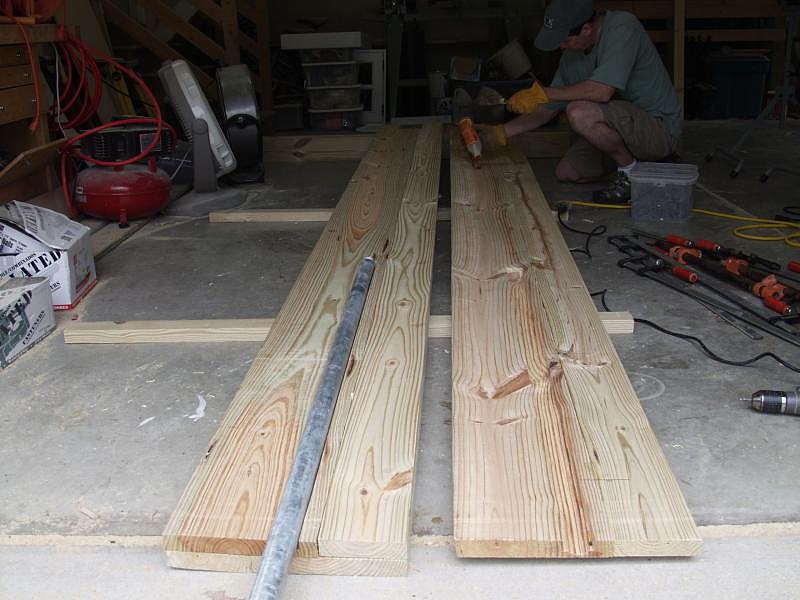
Each lamination was independently shaped based on its placement within the
shaft. By removing all excess material prior to assembly, it was possible
to significantly reduce the time required to produce the final shape.

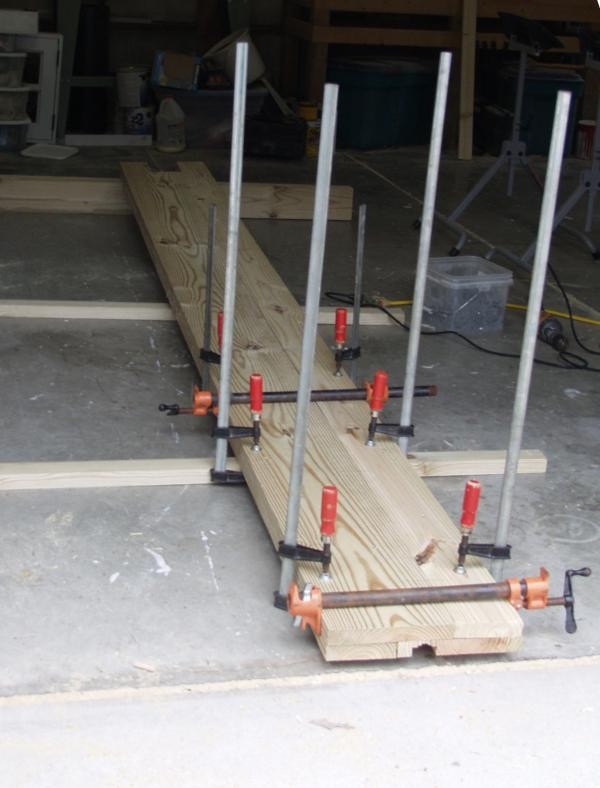
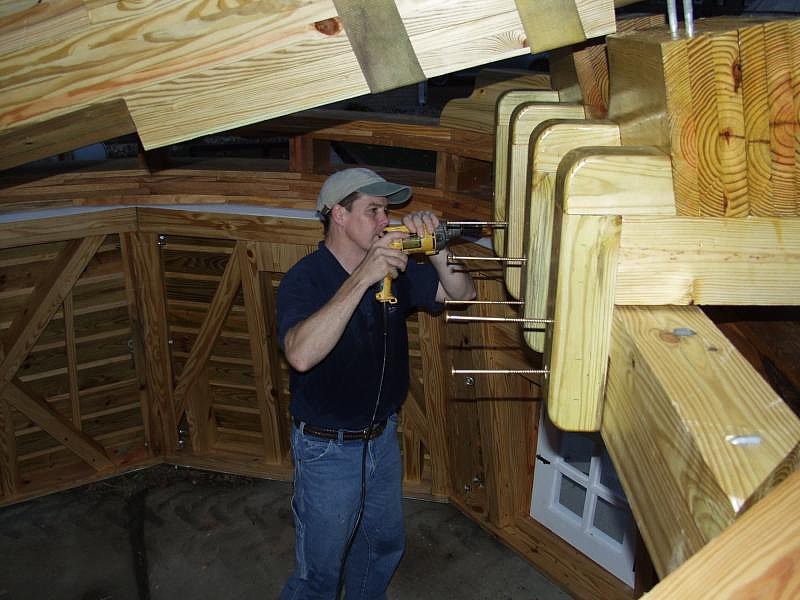
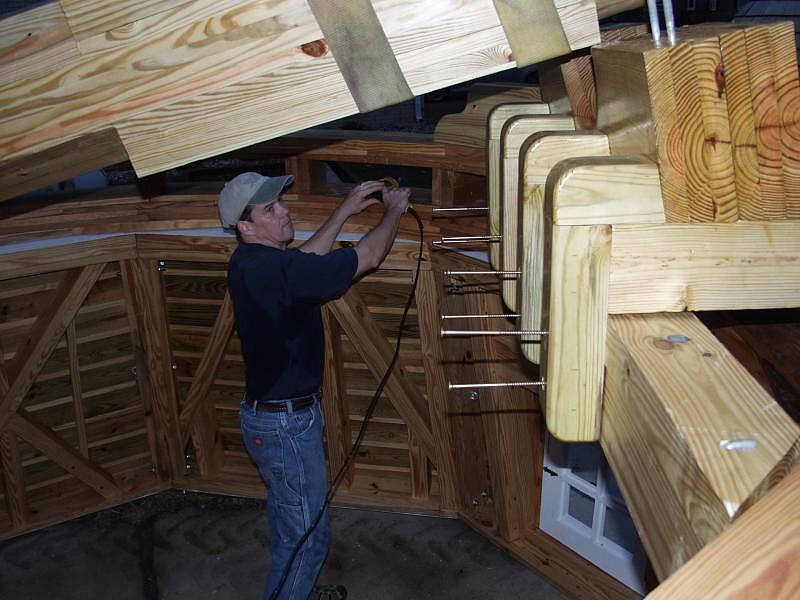
In addition to a thick layer of moisture cured adhesive, each lamination is joined by
3" exterior grade deck screws to provide added strength. At the location where the stocks
(or spars) pass through the windshaft, galvanized steel strapping is added
between each layer to increase the shafts durability and resistance to torque.
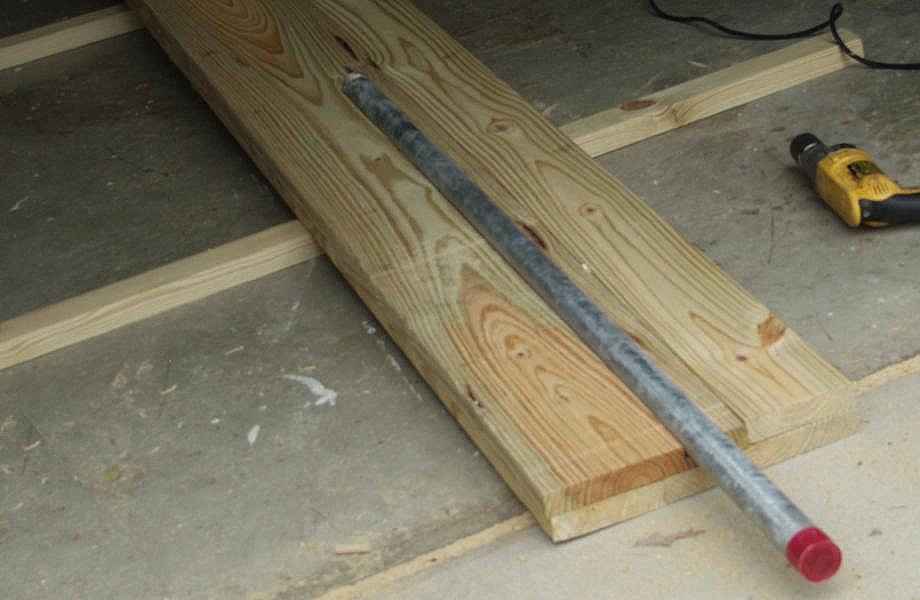
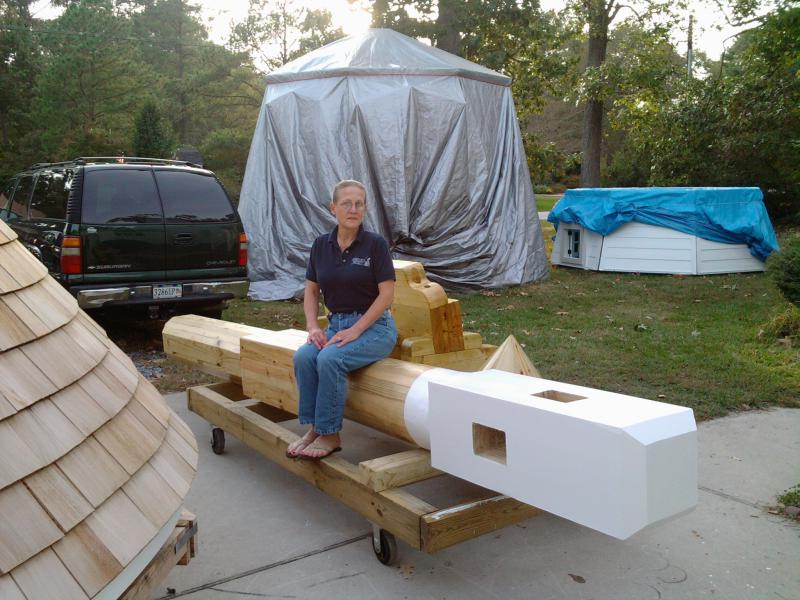
At the rear end of the shaft, a 1-1/2" galvanized steel rod is installed that serves
as the rear axle for the windshaft. This rod plugs into a thrust bearing that is
installed in the curb.

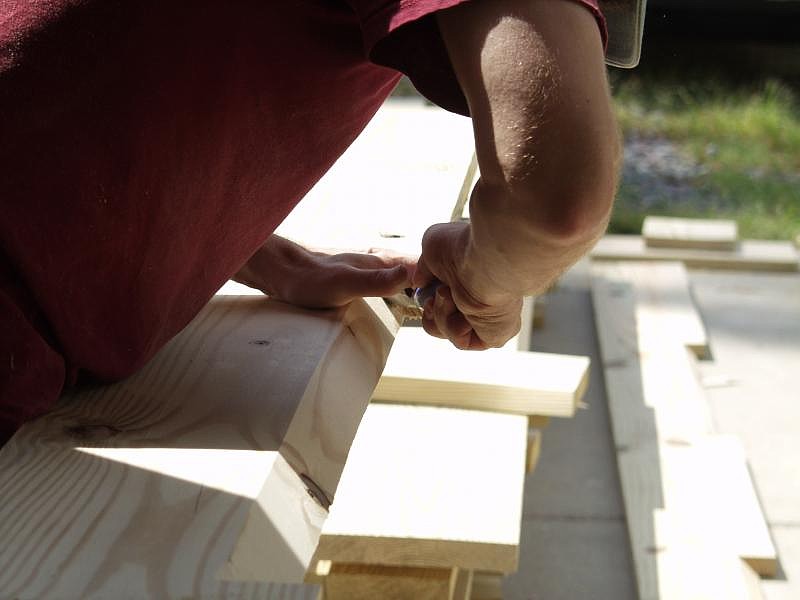
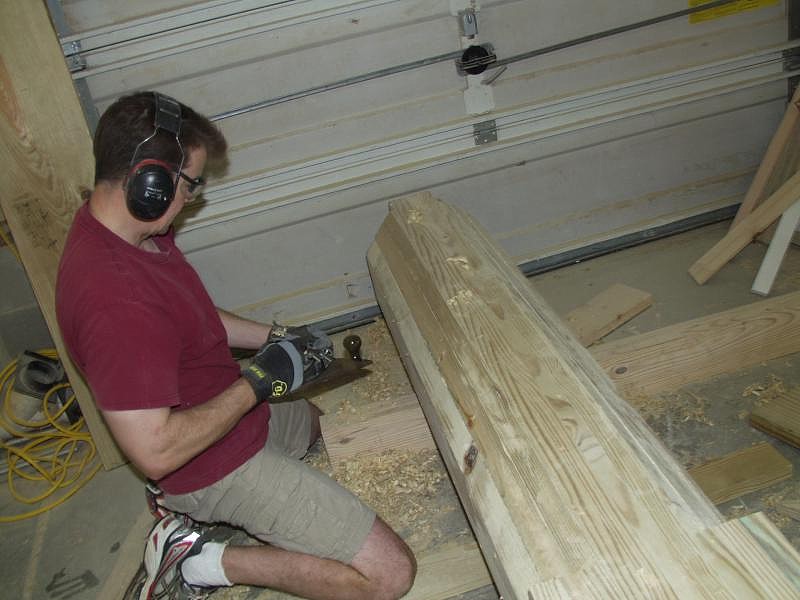
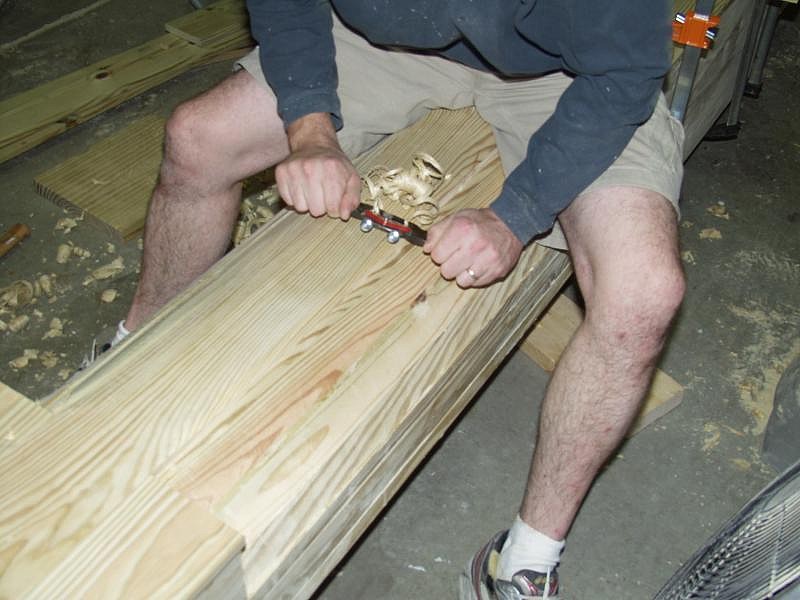
Although the bulk of the material was removed prior to assembly, it was still necessary
to use the jack plane and the spokeshave to perfect the curves and bevels of the
windshaft. It took several attempts, but eventually the windshaft was 'trued-up' and fit
neatly into the neck bearing assembly.
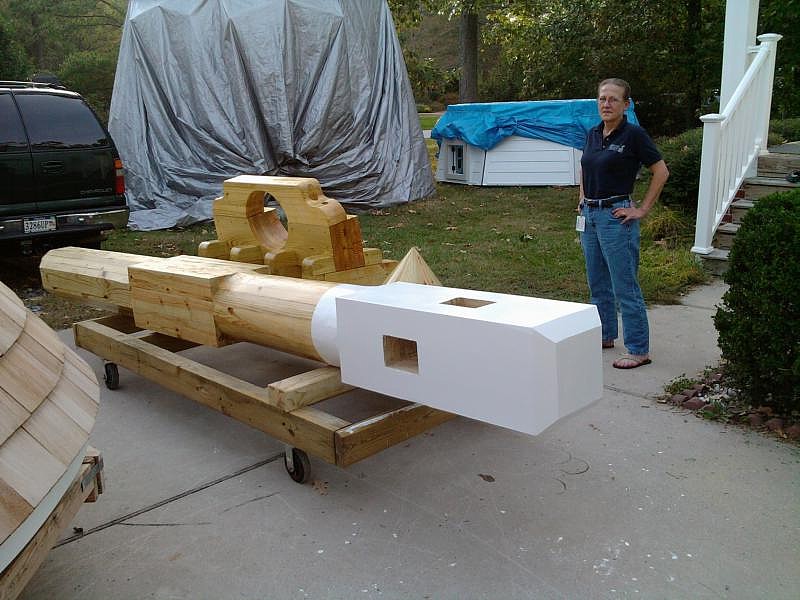
Once assembled and faired, the windshaft was ready for some added weather
protection. Any gaps or voids were filled with epoxy to reduce the likelihood that
water would permeate and then freeze (This would significantly shorten the lifetime
and strength of the unit).
After the epoxy, a layer of rubber sealant was applied to the entire shaft to fill the
wood's grain and protect unseen cracks. Finally, a coat of shellac, lacquer and white
paint was applied to the shaft to provide greater protection and to complete the
aesthetic effect.
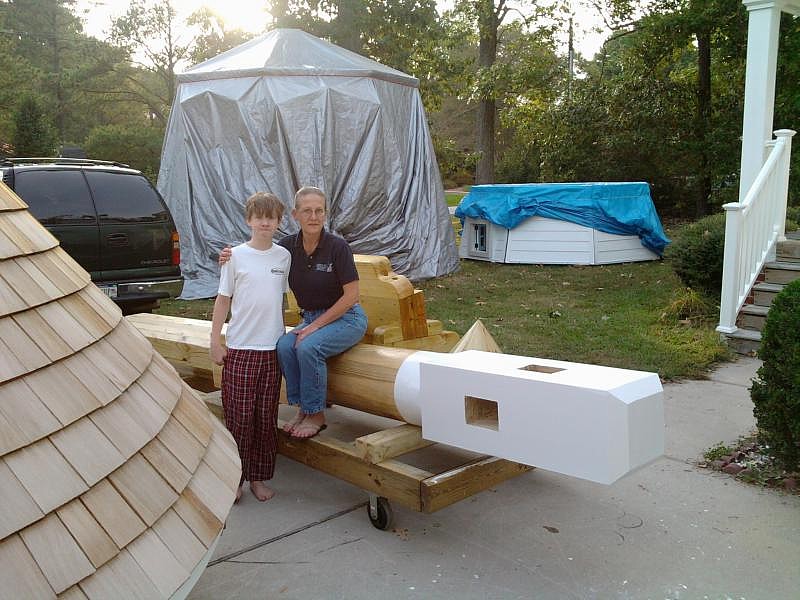
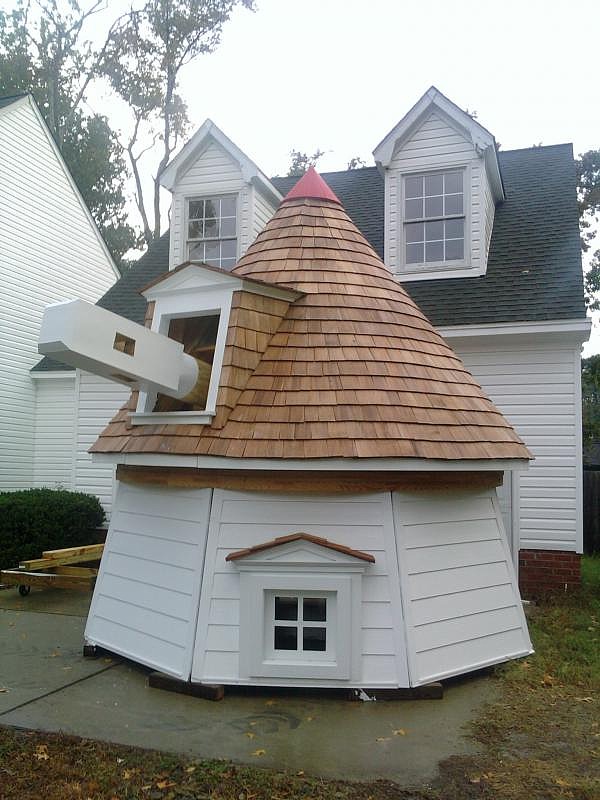
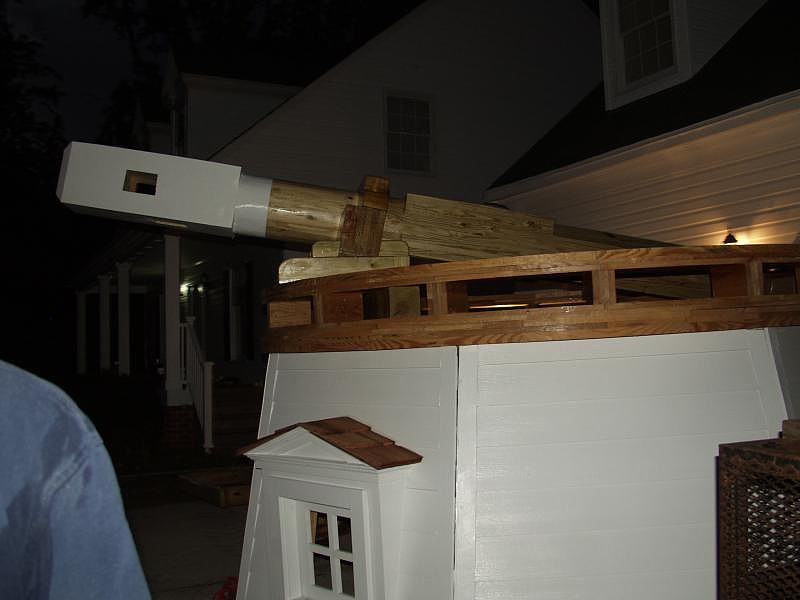
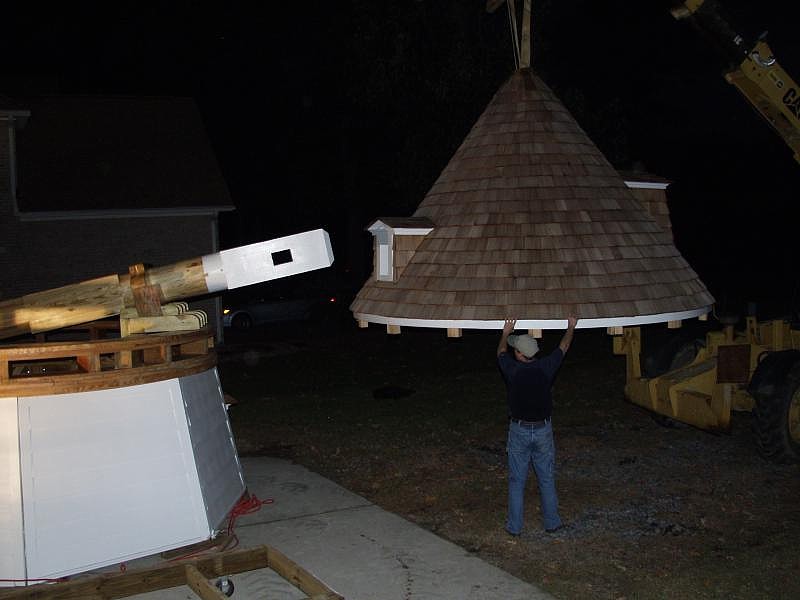
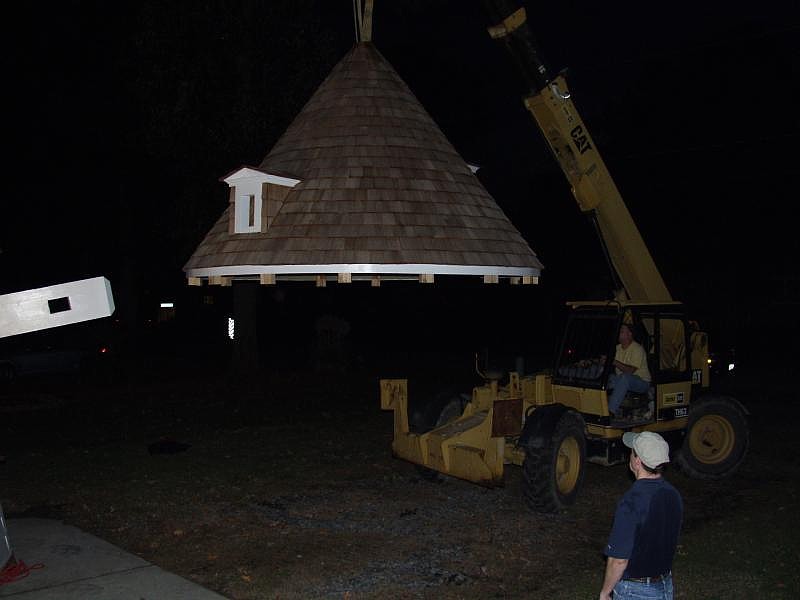
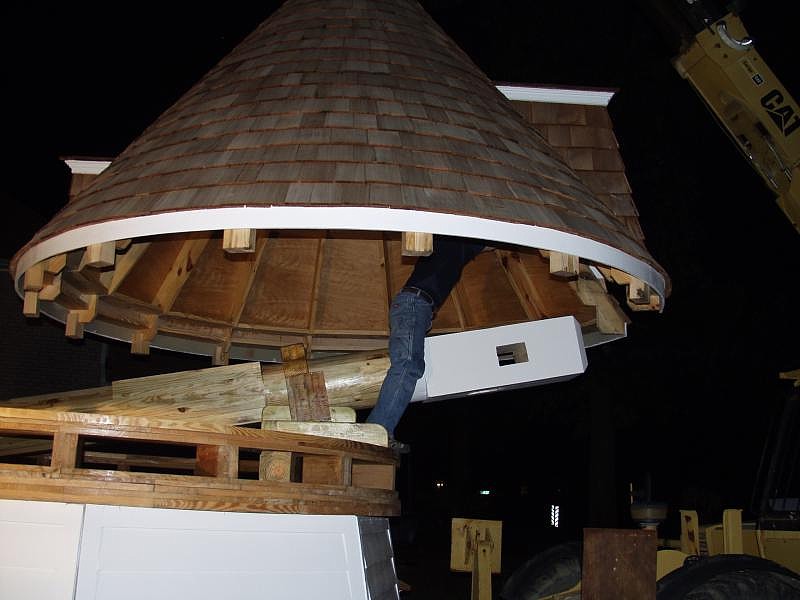
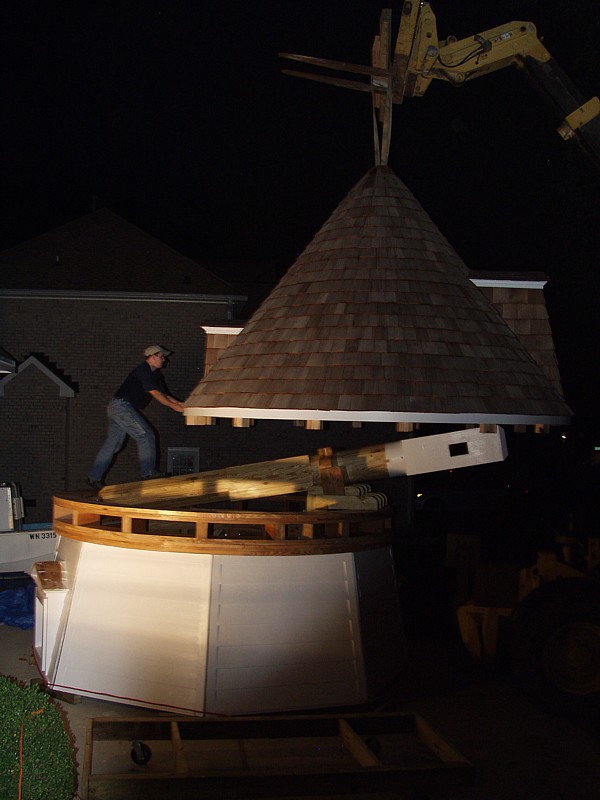
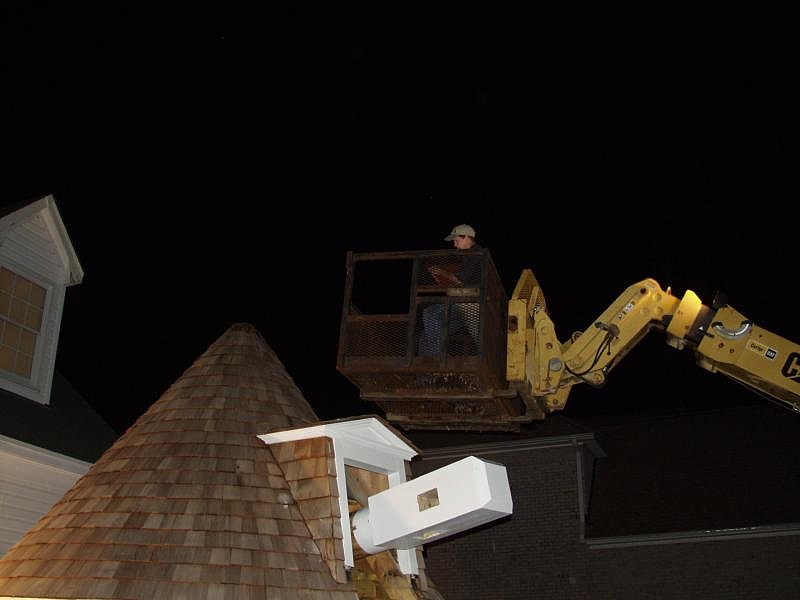
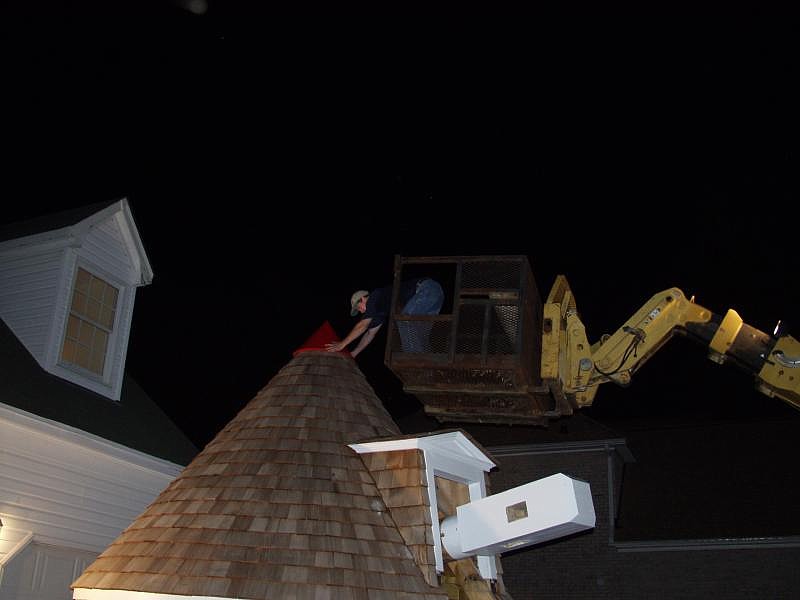
Once all of the pieces were measured and cut, it was time to stack the assemblies
together to see how they fit. With the help of Scott Hartman and his construction
forklift we were able to lift the curb, shaft and finally the cap into place.

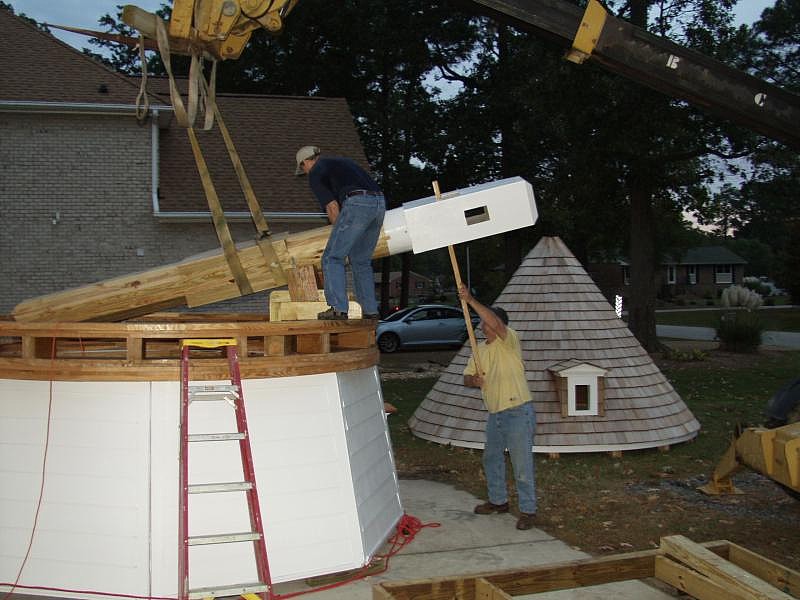


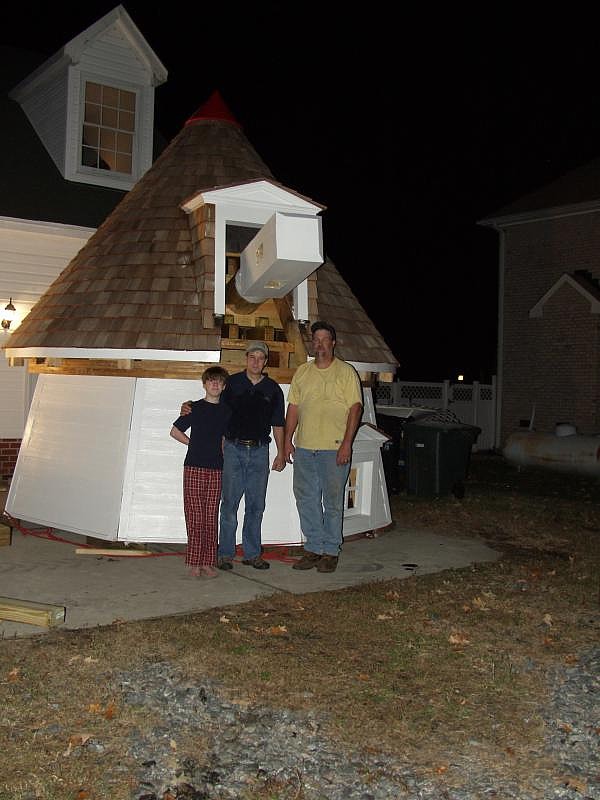
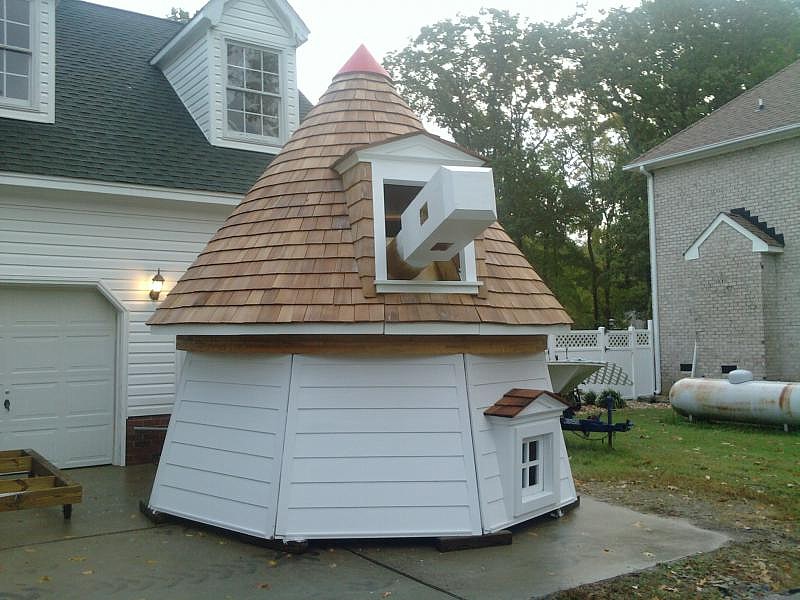
Although the first floor is not shown, in the light of the following day you can really see the windmill
beginning to take shape. In the weeks that follow the trim will be installed around the curb
and the stocks and sails will be manufactured and fitted.