|
|
Cap Trim and Stocks | November 16th, 2010 |
During the past few years of designing and building this mill, I've
learned a thing or two. First, fiber cement siding and cellular
PVC both have the benefit of being easy to work with and resistant
to weather. The biggest drawback with cellular PVC is that, although
it bends easily, it shrinks and grows dramatically with
temperature changes. Alternately, fiber concrete is difficult to bend,
but once it is in place it stays put...
So, what material do you think would be best for fabricating the cap trim?
The answer, of course, is the third alternative - wood: pressure treated
wood to be exact.
As I discussed with Boy Scouts in the Carpentry merit badge this year,
wood is an almost magical substance in that it never forgets that it was
alive. A tree will expand in the spring and summer to drink in water and
service it's new leaves, and will contract again in the winter months after
the leaves have fallen --- however, while a tree grows taller, it's height
does not change because of seasonal variations.
Boards (that are cut from trees) continue that behavior for the rest of
their existence, and will continue to expand and contract across the grain
while remaining fixed in length along the grain. When cut and oriented
properly (to accomodate for movement) wood provides both strength and
flexibility.
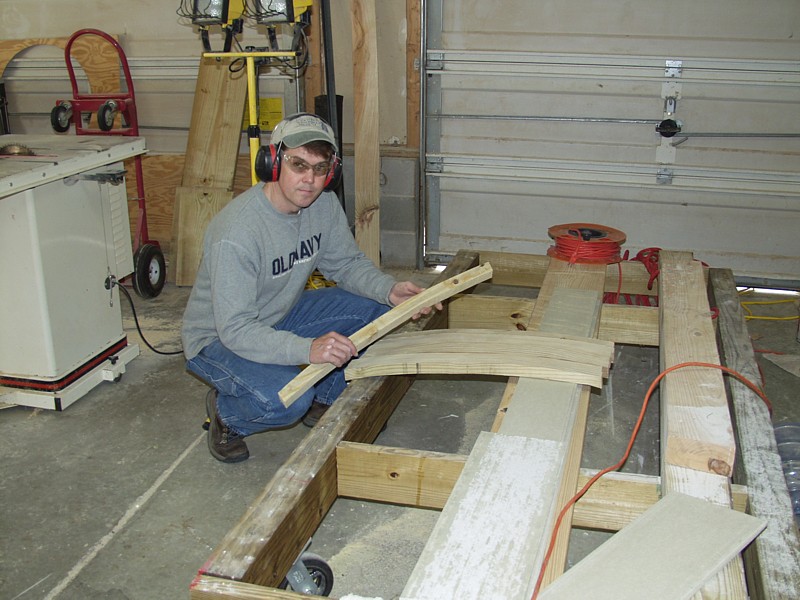
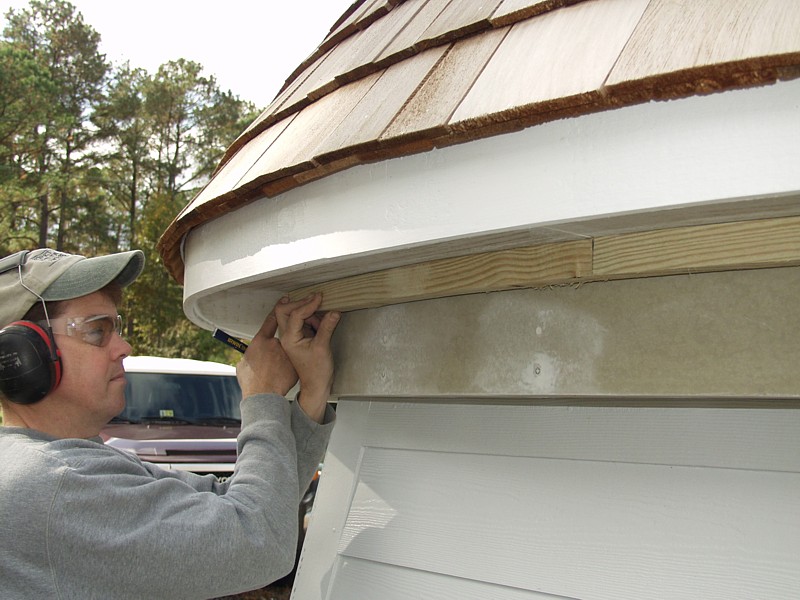
So, while I slowly bent layers of concrete board to create the fascia and
freeze board around the cap, the final element had to be cut from real
wood. This is because fiber cement doesn't hold nails particularly
well AND there is absolutely no tolerance for shrinkage in trim on a
rotating cap.
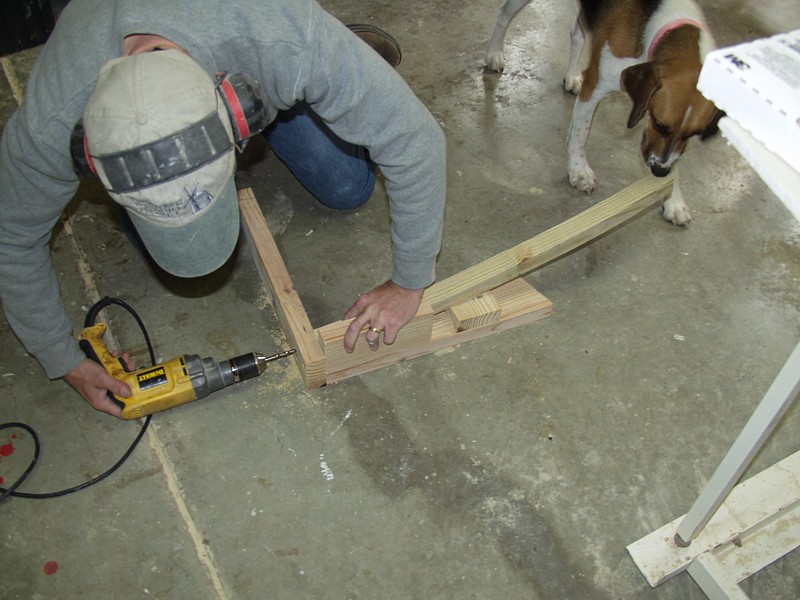
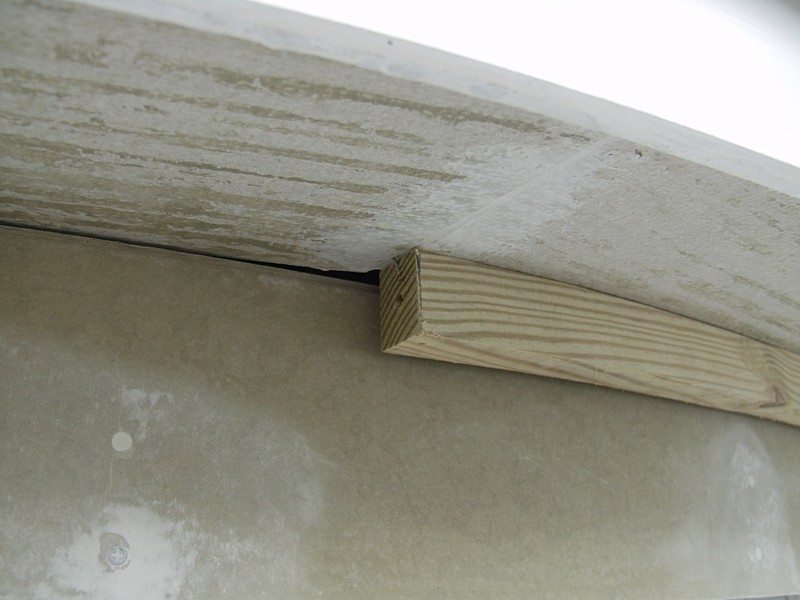
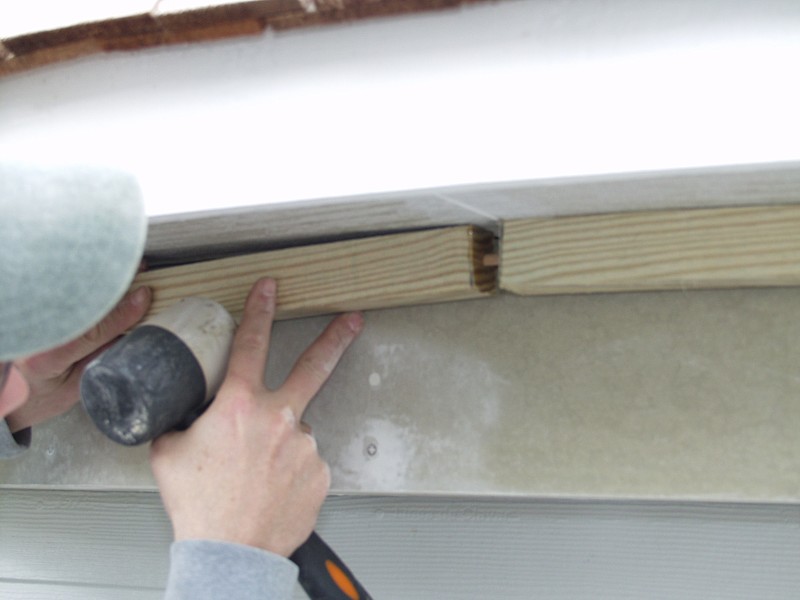
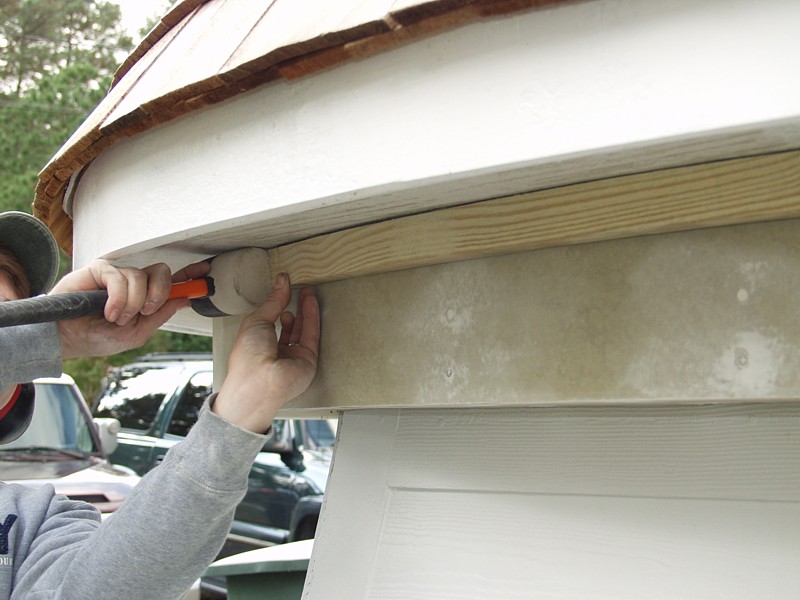
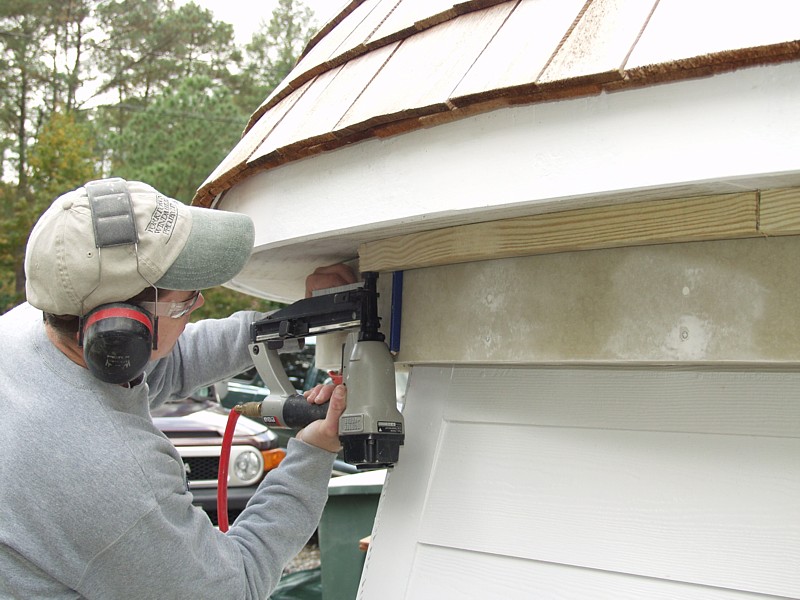
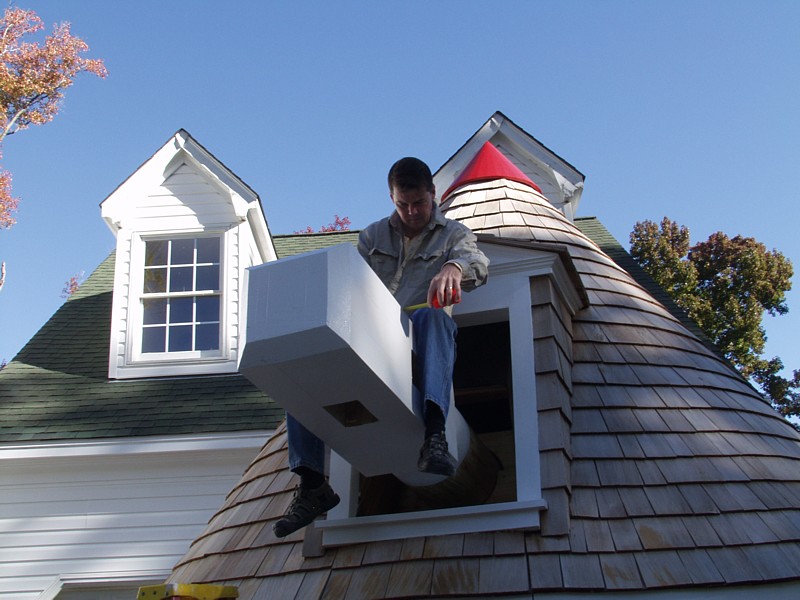
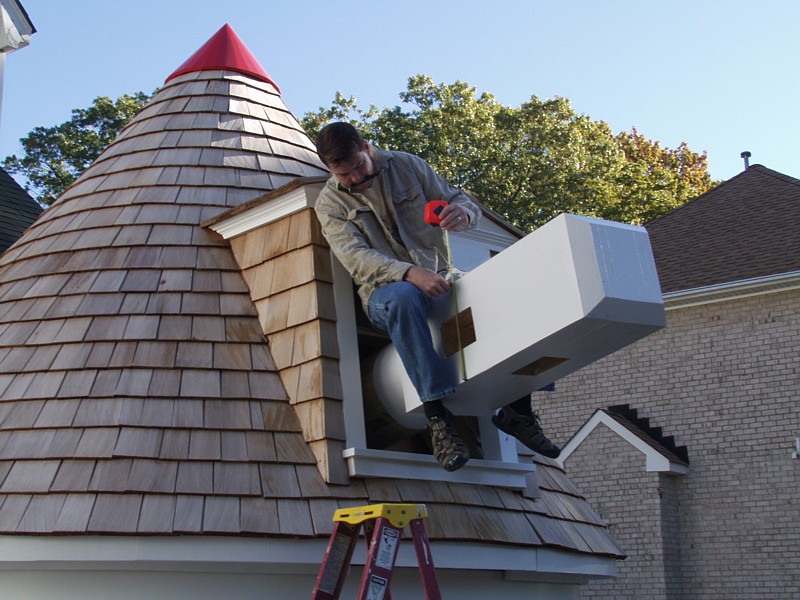
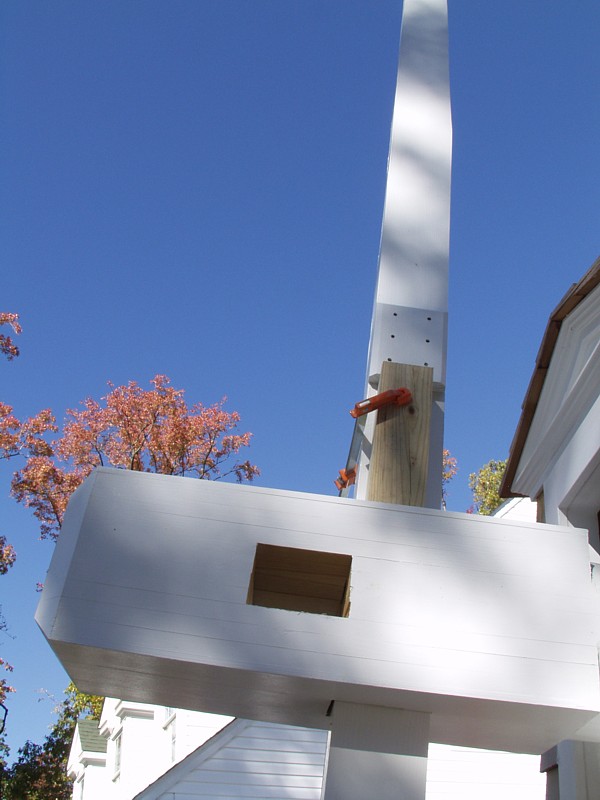
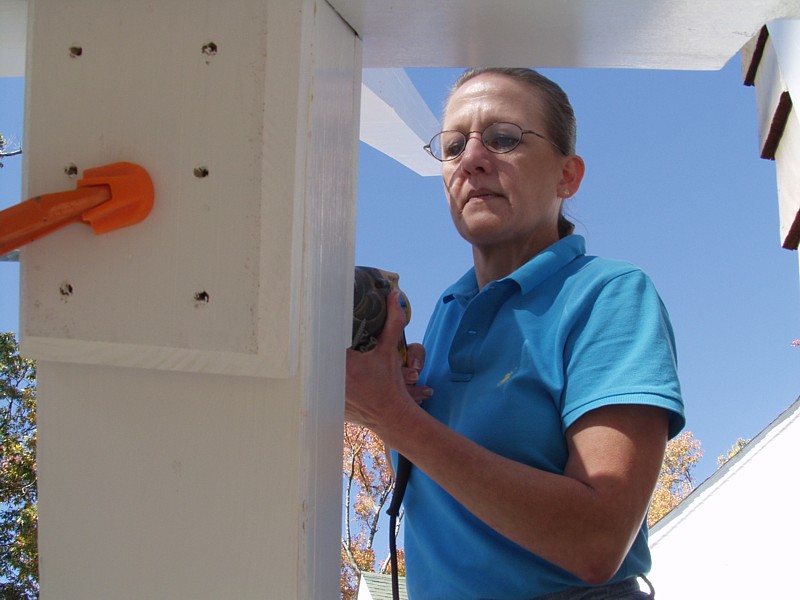
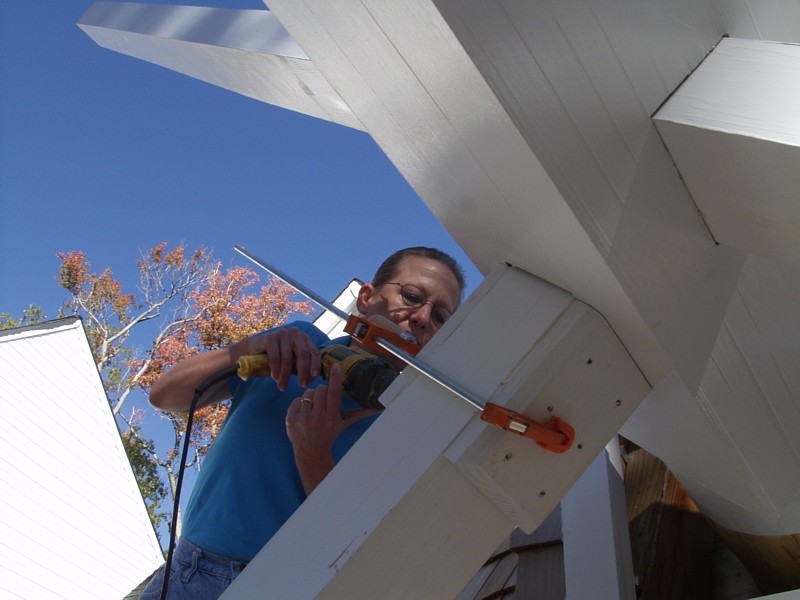
The pictures below show how the trim was installed and illustrates
how dowels and moisture cured glue were used to turn 16 curved sections
into one contiguous ring of molding.


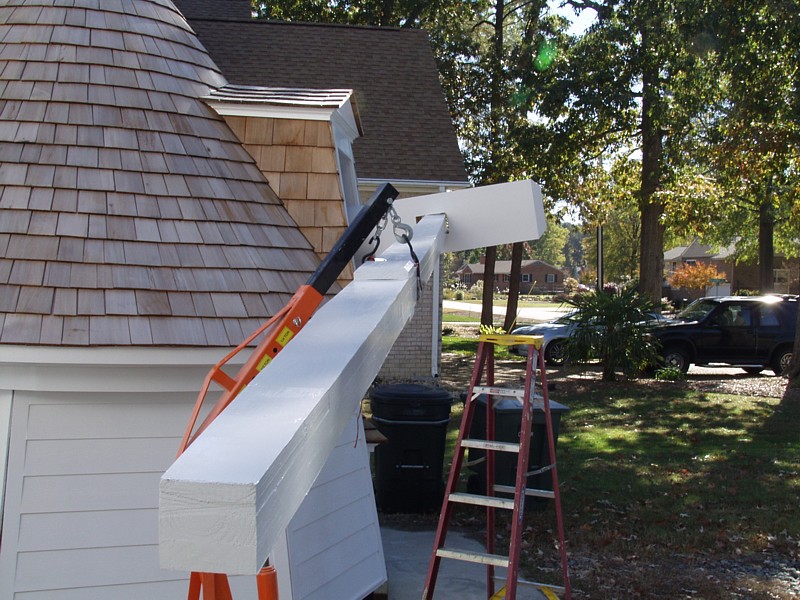
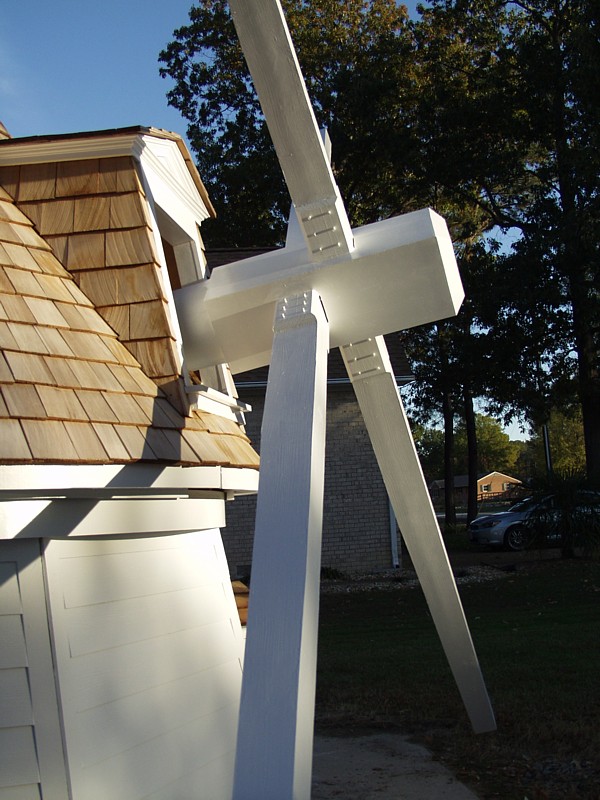
The stocks (also called spars) are the connection points that join the
vanes to the windshaft. At a whopping 18 ft in length, the stocks were
too long and thick for me to process with my jointer and planer within the
confines of the work shop. As a result, I had to fall back to a number
5 jack plane that we refer to as, "The Timber-Tamer".
It was cold in the shop that night and I started my work dressed in a
sweatshirt, gloves and a hat. By the time I had flattened the first stock
it was clear that it was time for a change of clothing... hand planing
is hard work.
In the end, though, the little hand plane did an extraordinary job of
bringing the massive timbers into conformance.
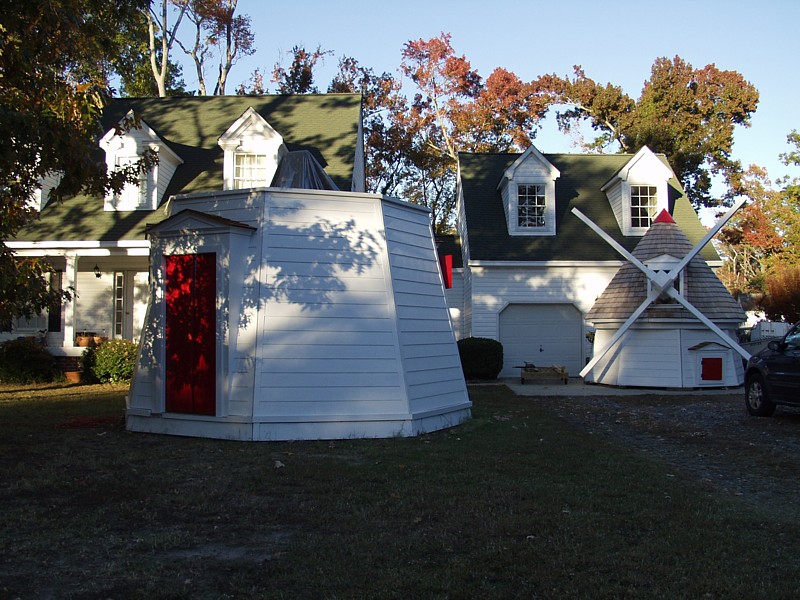
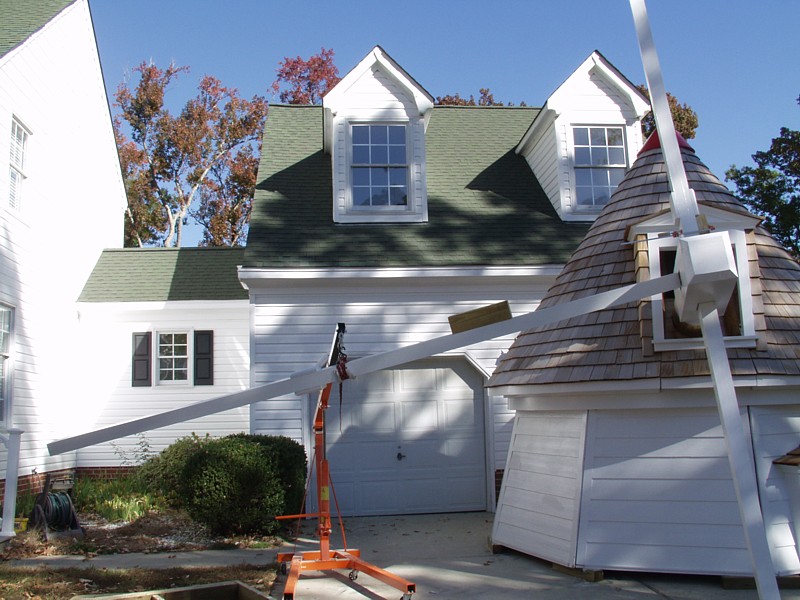
Once installed, the presence of the stocks had an absolutely unparalleled
impact on the appearance of the structure. For nearly a year my neighbors
have walked by the project and asked if was building a gazebo or a shed...
Once the stocks were installed, all doubt was eliminated and the
building was unquestionably a windmill.
You'll note that the small shop crane that I picked up during the
summer really made the difference when installing these 18 foot beams.


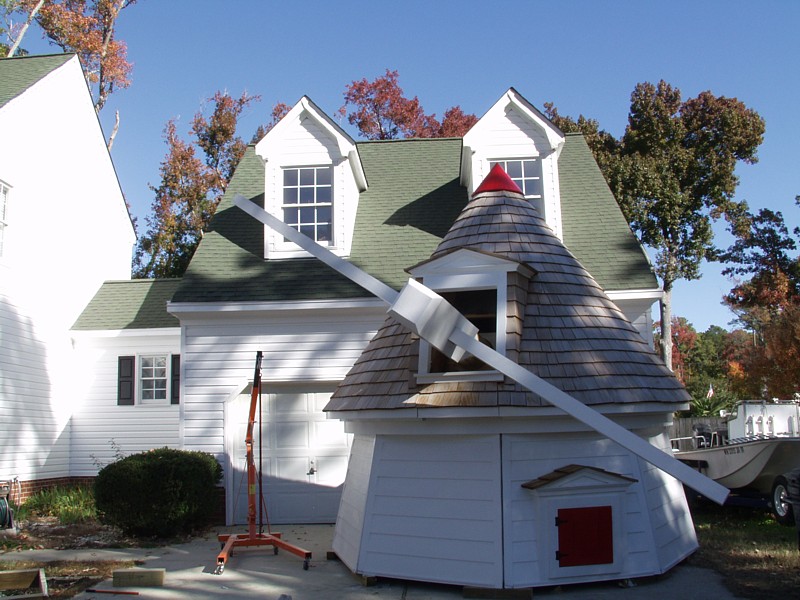

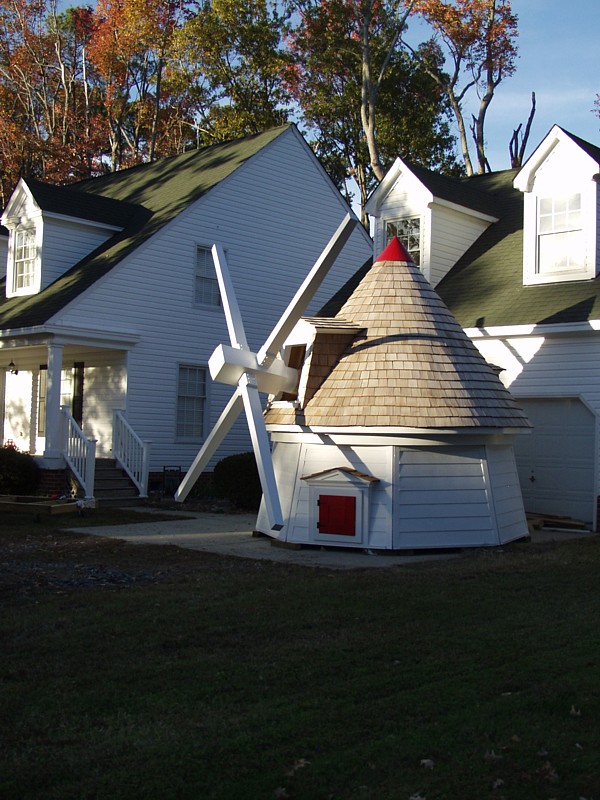
With all of the parts installed, even though the windmill is sitting
in two halves, the thousands of hours of effort that have been spent
by nearly 100 volunteers over the past 3 years are fully justified.
Every idiosyncracy and variation in lumber and material comes together
to create a unique experience that goes beyond mere construction... and
extends into the domain of art. All of the citizens of York County and
Virginia who have contributed to this project can take pride in what they
have achieved.