|
|
Building the Second Level | March 1st, 2010 |
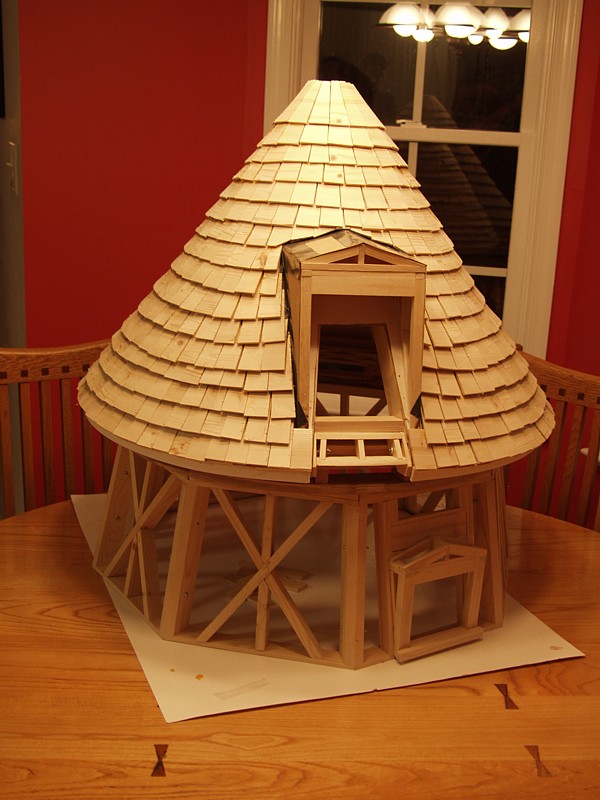
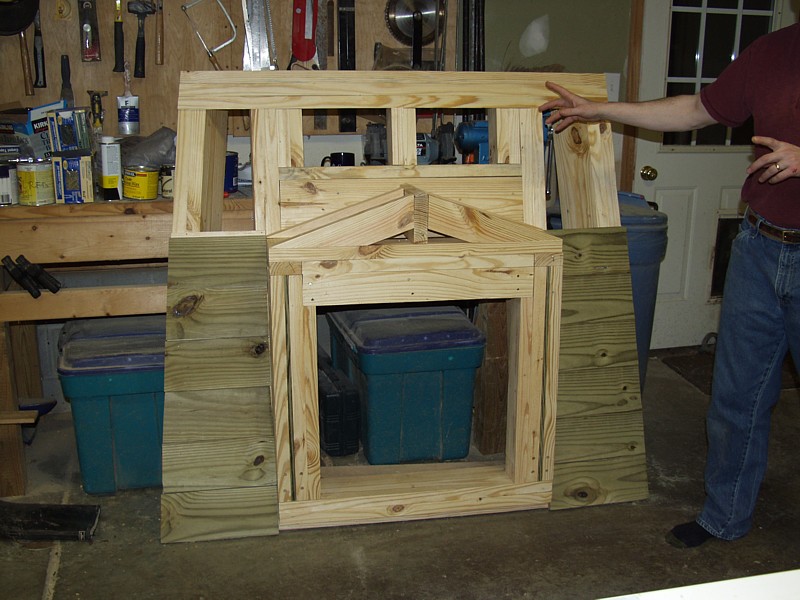
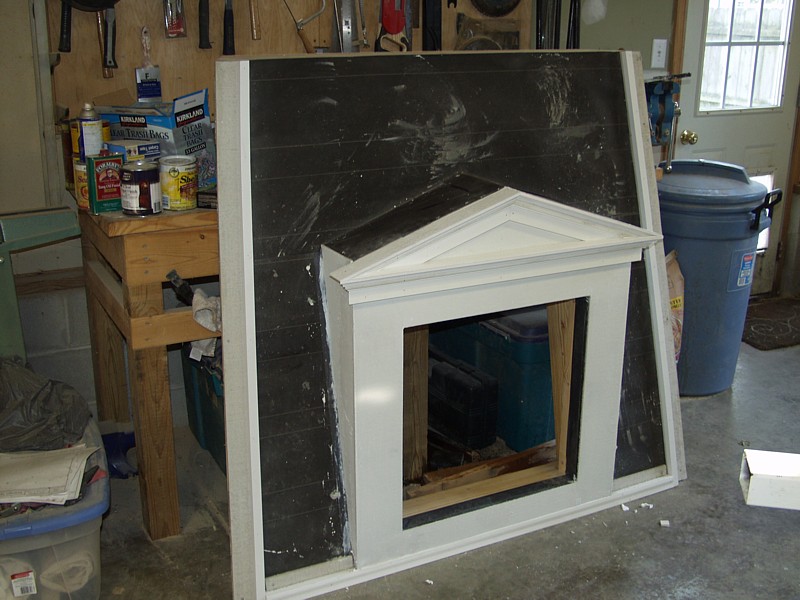
While hundreds of hours had gone into the development of the digital model that was
used to create the plans and specifications, there were many assumptions about the types
and properties of building materials that were yet to be tested. Keep in mind that this
project would require layer upon layer of thin plywood to be bent around a wooden frame
to produce a perfect cone. This conical roof would sit on an oak curb which would, in turn,
be supported by the second level framing. Needless to say, after completing the model
below I gained an untold appreciation for the flexibility of wood (or lack thereof) and
several of the project's key plans were changed to comply with reality.
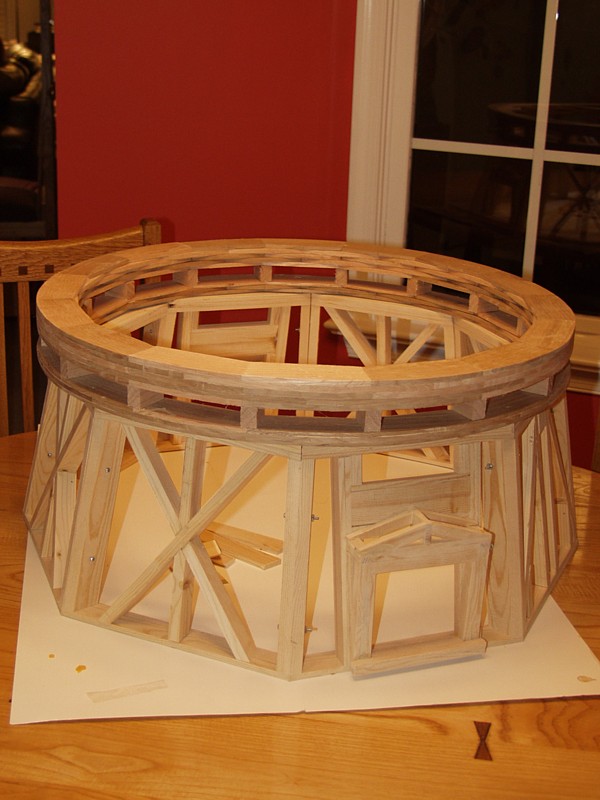
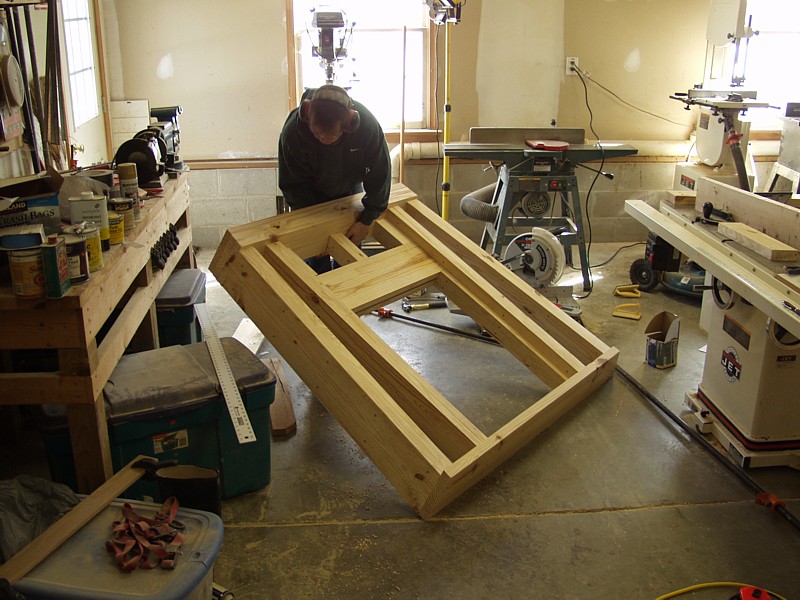
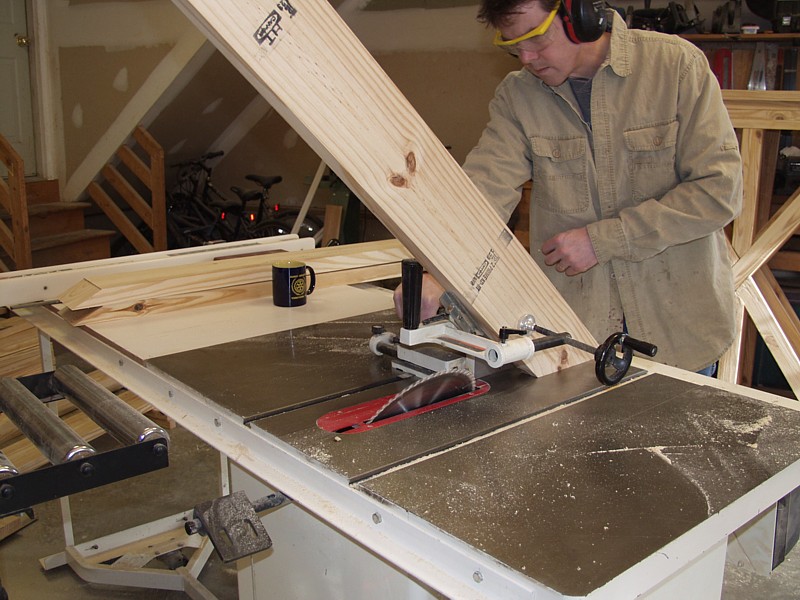
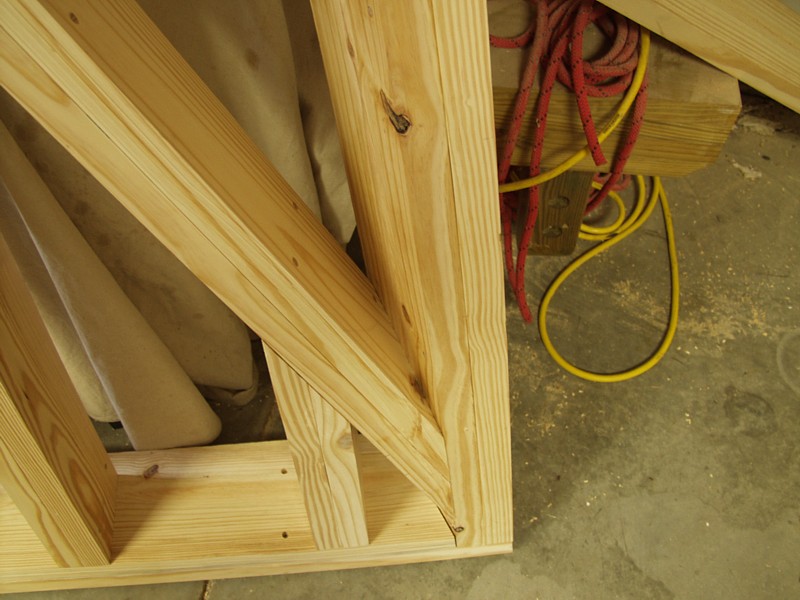
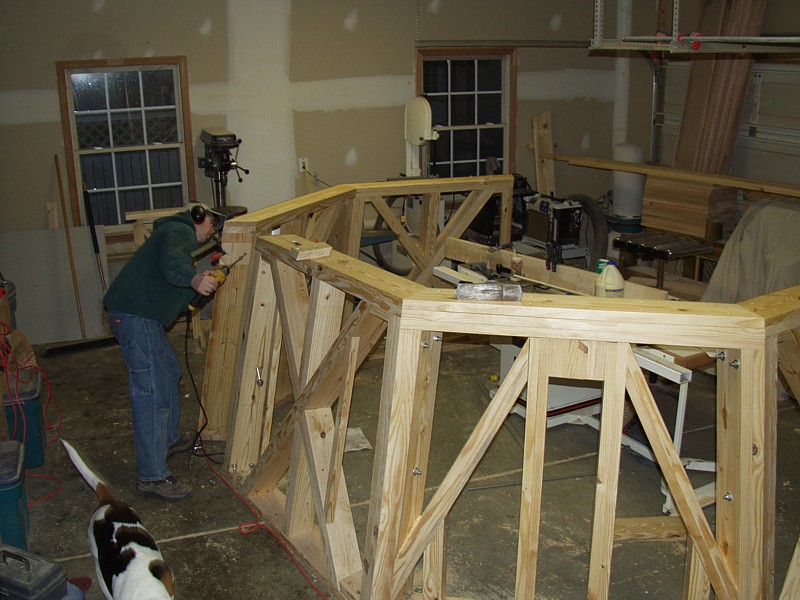
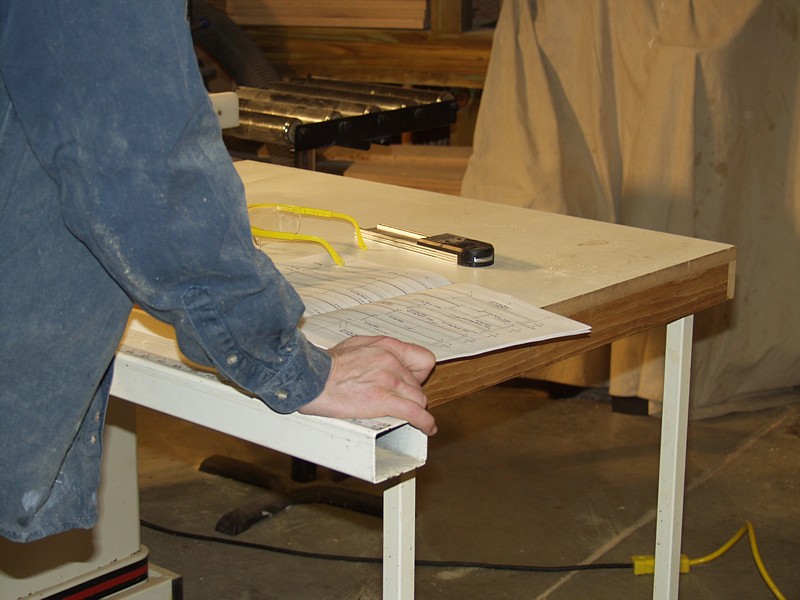
When looking at the model, what you may not appreciate is the myriad of truly bizare angles, bevels and
miters that have to be cut on the end of each board to produce a tight fitting joint. While the digital
drafting software greatly simplifies the effort required to compute the joint - the time and detail
necessary to cut the material remains the same...
In the end, a million tiny flaws have to be cleaned up with the chisel and plane.
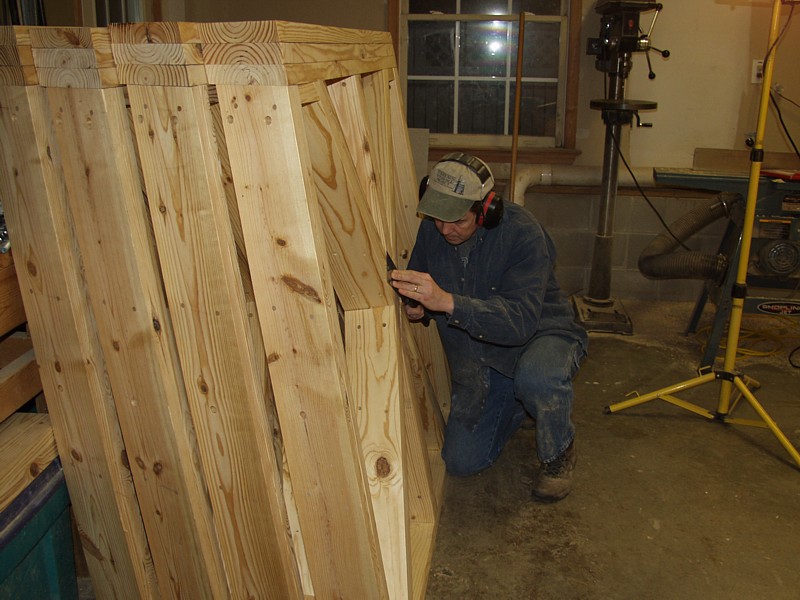
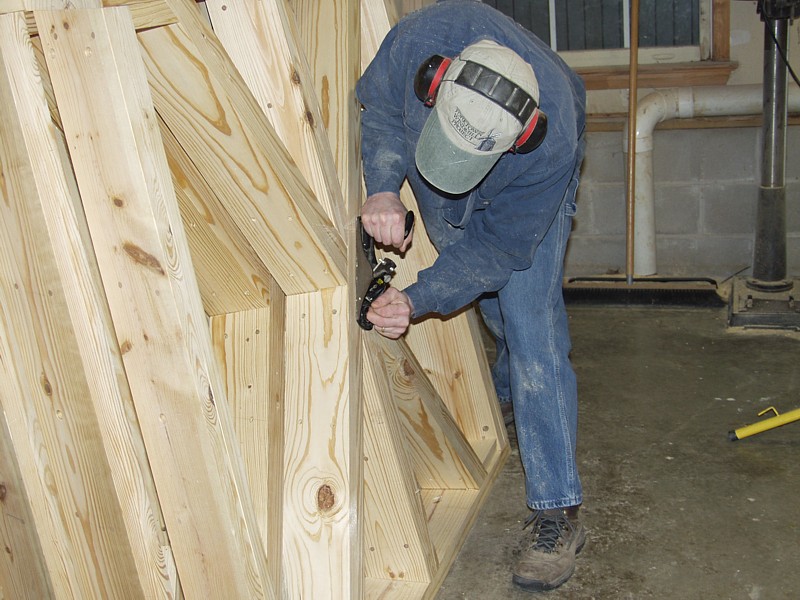
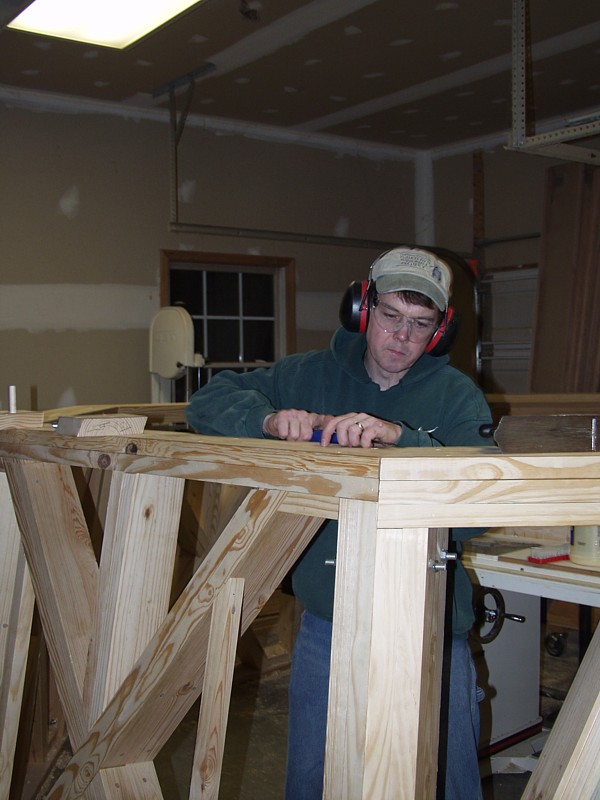
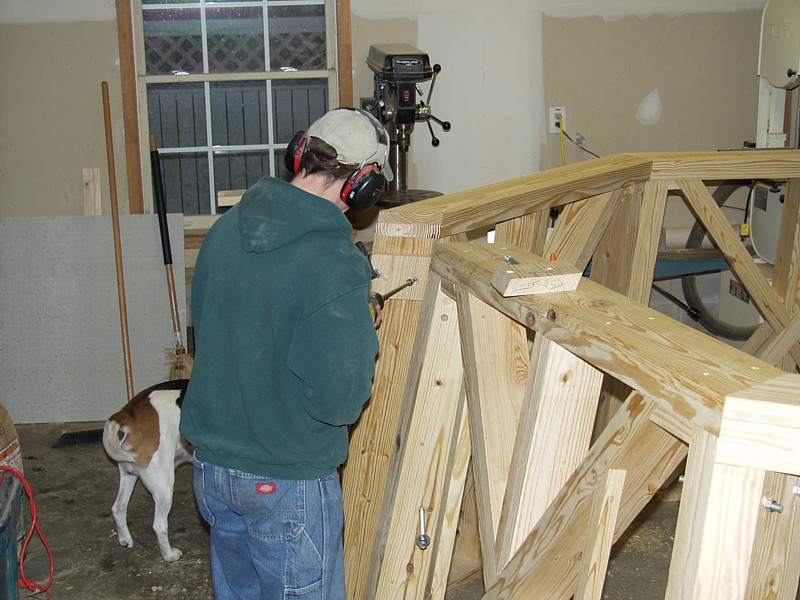
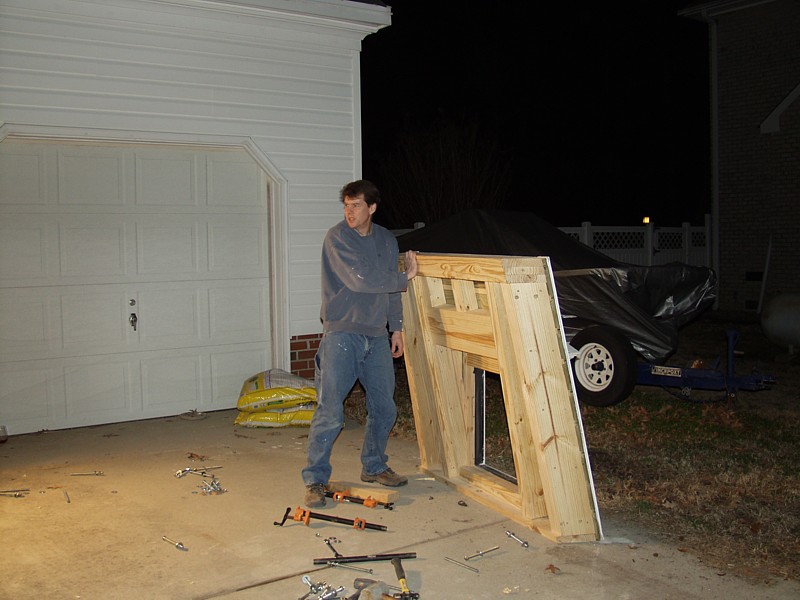
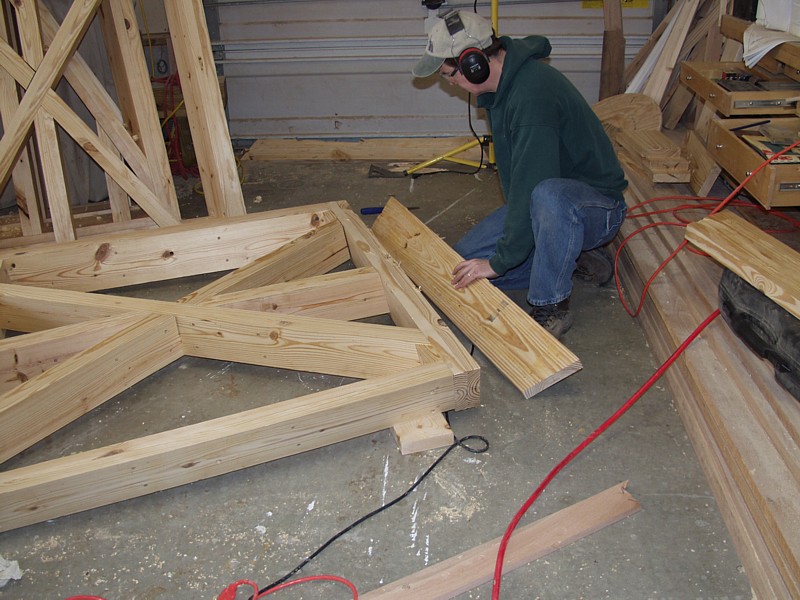
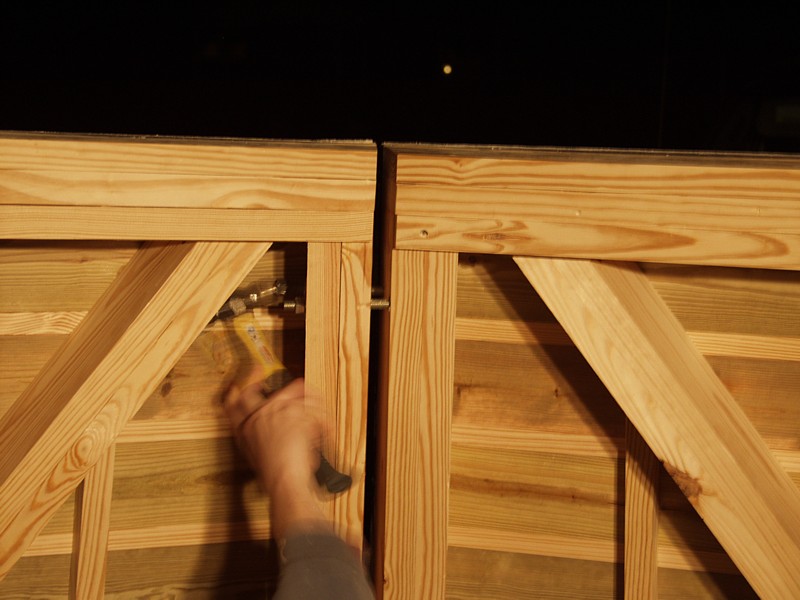
In case anyone is under the impression that the implementation of this project was flawless, allow me
to assure you --- that was not the case. In the following series of pictures, you can see me demolishing the
upper band of a series of wall panels to correct a measurement error that was made early in the process.
This just goes to show, the best planning is for naught if you don't pay attention during the fabrication
process.


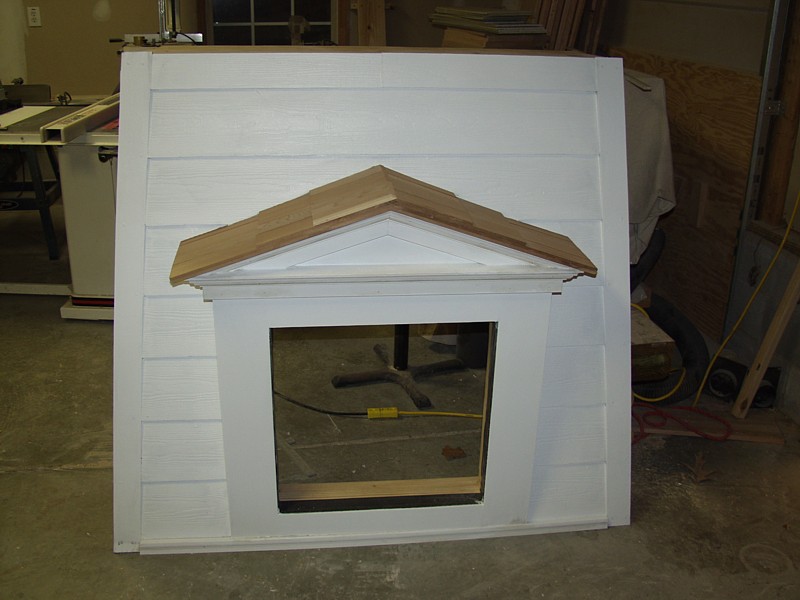
During discussion with the Architecural Review Committee in Yorktown during the early days of the project,
Dr. Dave Douglas raised the question of how the interior of the building would be finished. Since the studs
and support members would be exposed, would the visitor be able to see the plywood sheathing from inside of
the building. At the time, I assured Dr. Douglas that this wouldn't be the case and that interior planking
would be used instead.
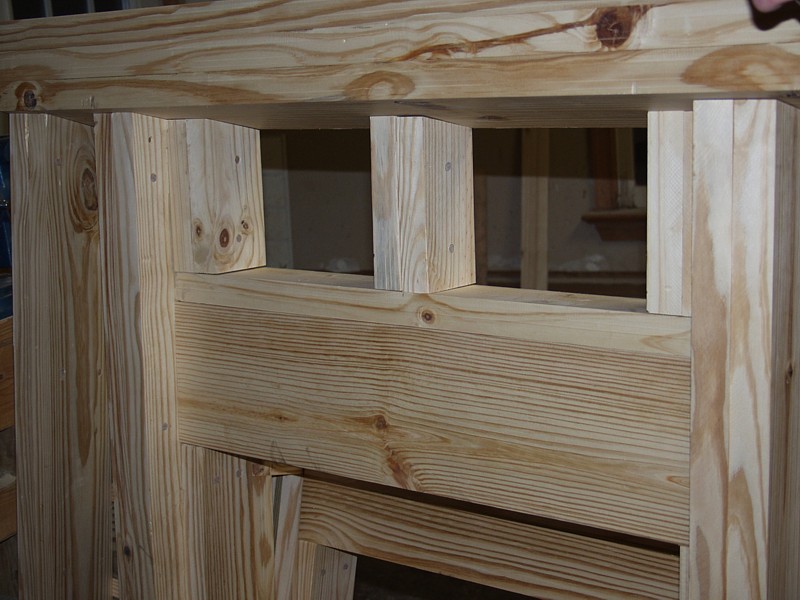
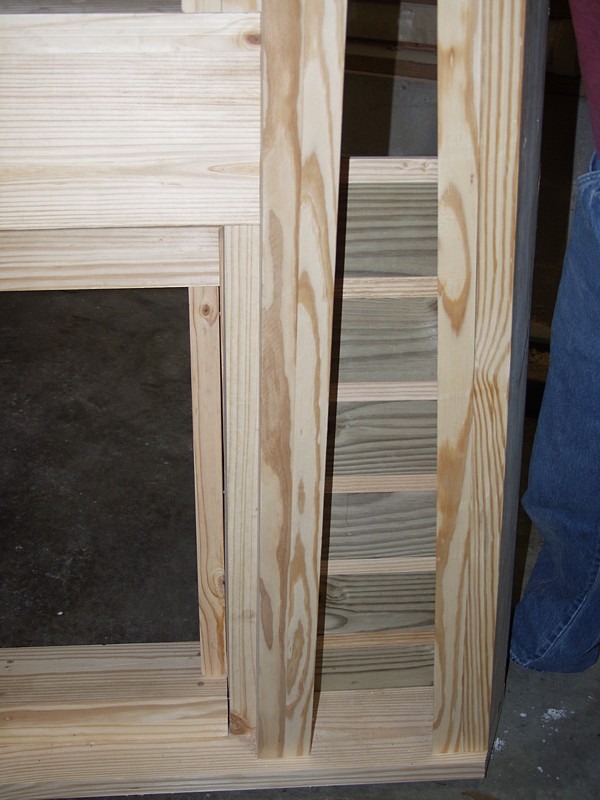
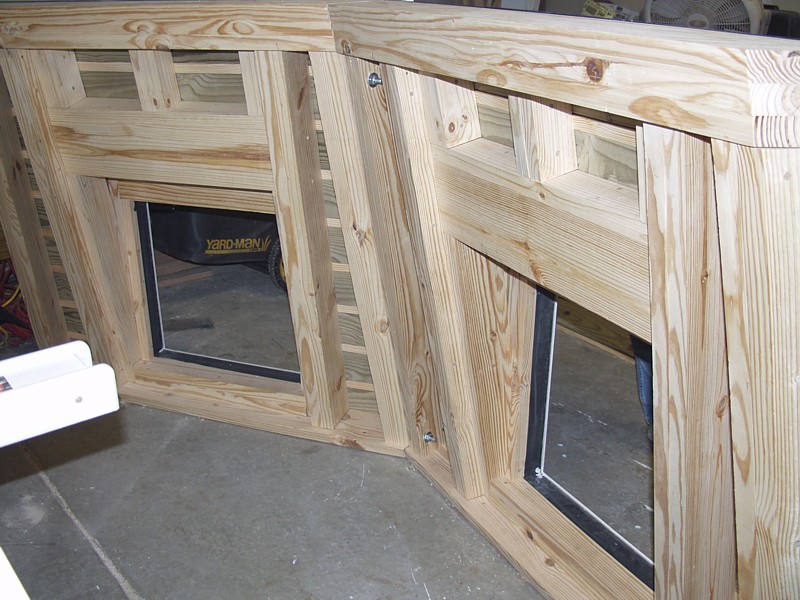
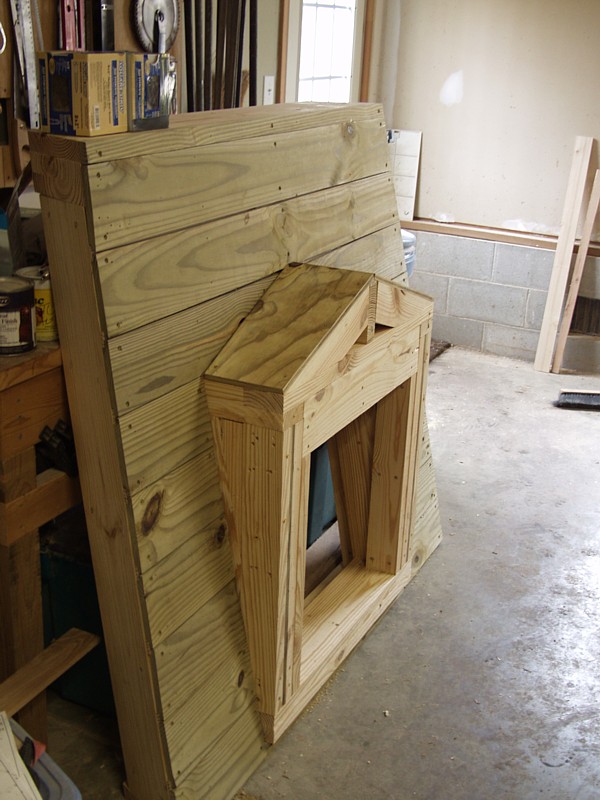
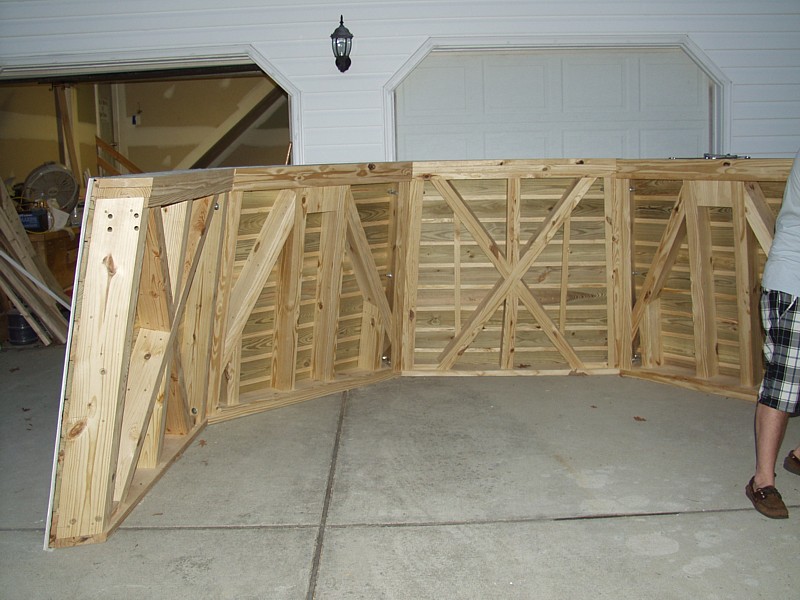
As time went on, this idea evolved to take a more unusual path --- batten seam construction.
An old boat building technique, batten seam construction involves cutting a rebate in the edge of each plank and
then installing a secondary strip (or batten) between them. Using this approach, as the exterior boards
shrink, the batten remains in place and prevents leakage. While leakage is not a major concern in a building's
walls, the use of battens helped to resolve other issues related to shrinkage. As the wall panels shink and
grow due to changes in humidity, the batten will provide a flexible seal and will prevent tar paper, exterior
siding or light from being seen from the inside.
You'll also note that the contrasting colors of the board and batten create a beautiful aesthetic...

While pressure treated lumber, cellular PVC and fiber concrete products are not the stuff of ancient mills,
they do provide a level of protection and performance that will greatly extend the life of the building.
Once coated with a good quality paint, the materials are virtually indistinguishable from traditional products ---
and they last much, much longer.
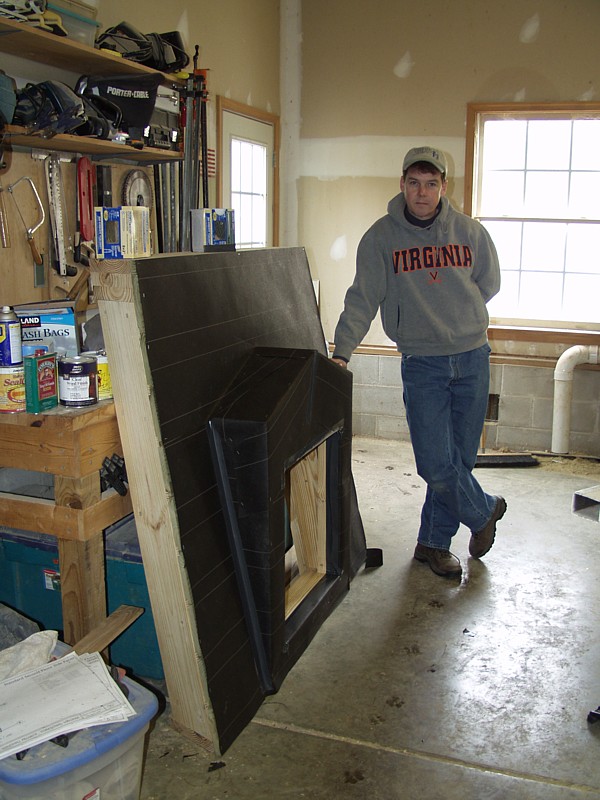
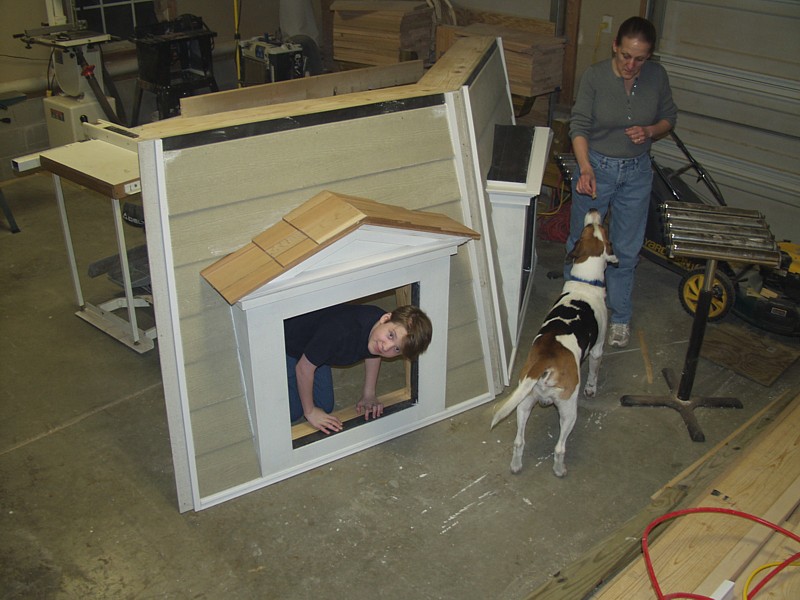
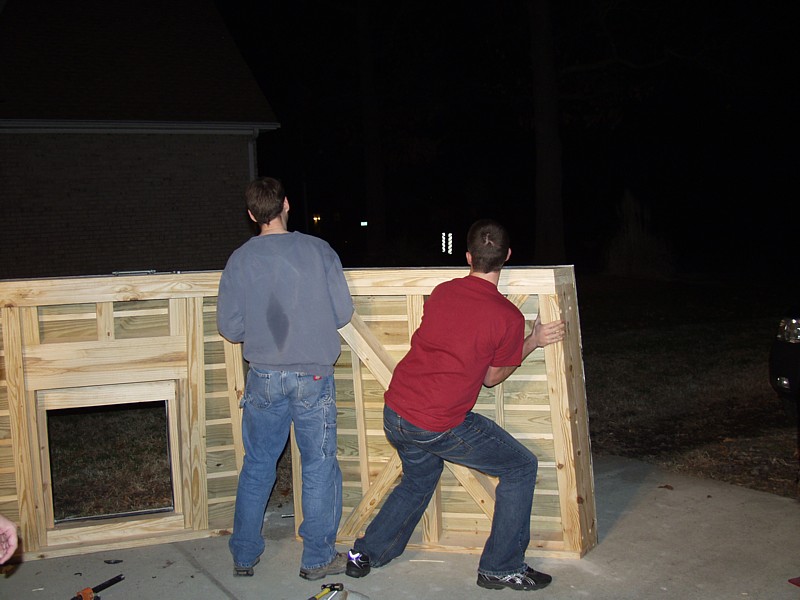
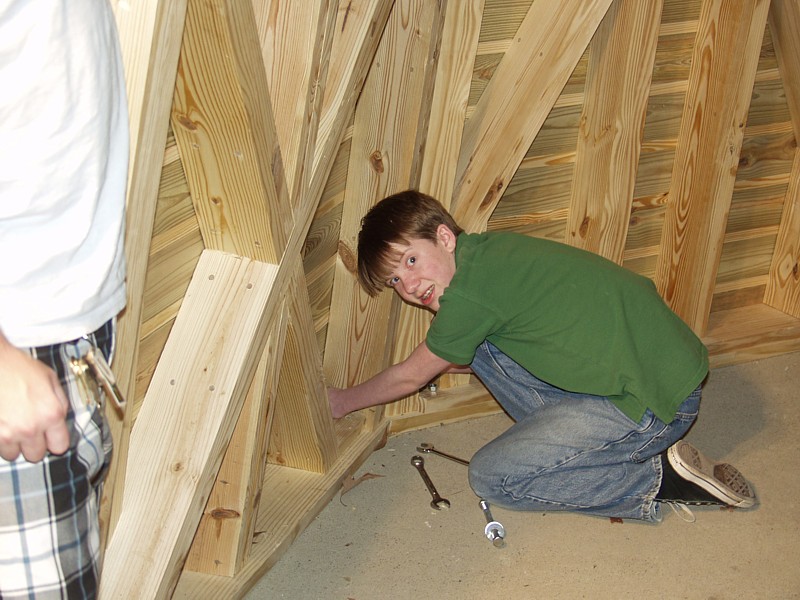
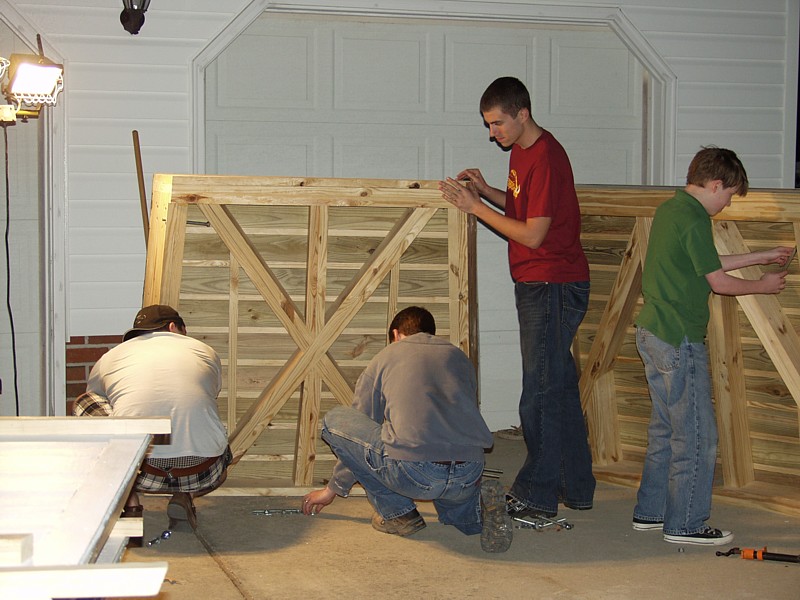
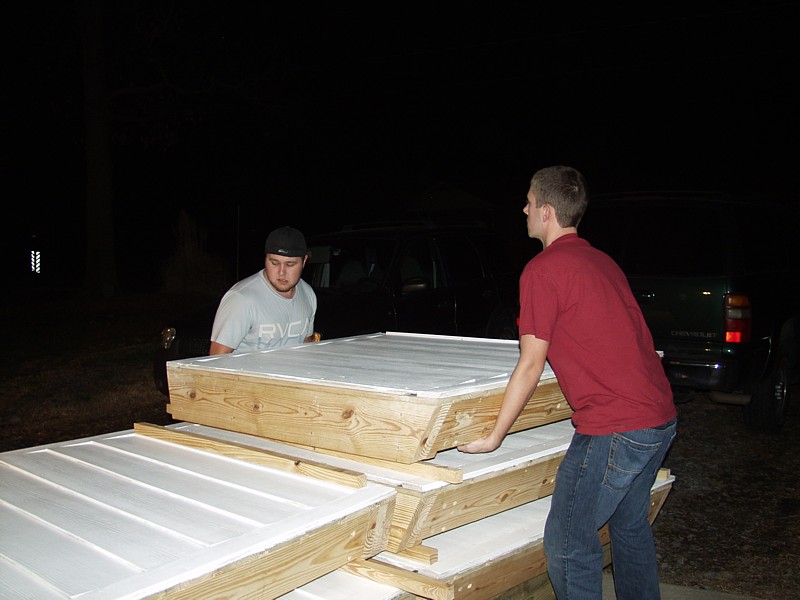
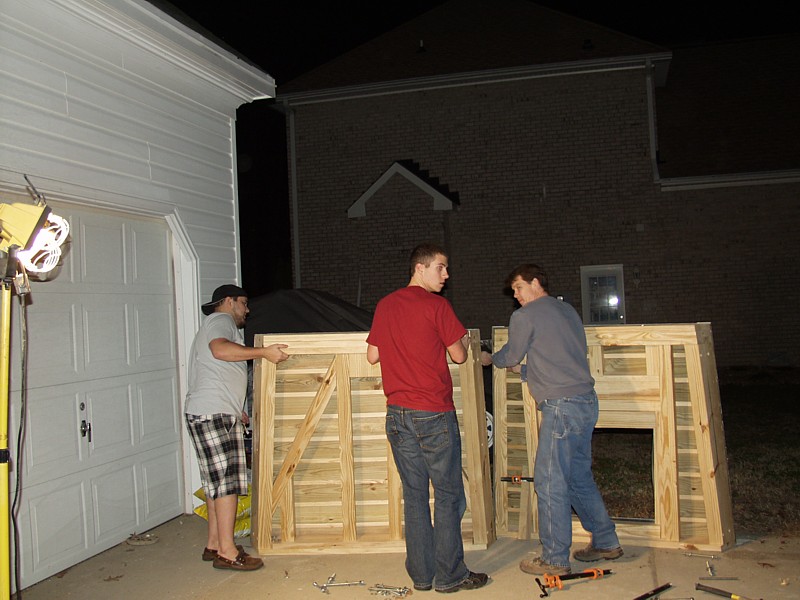
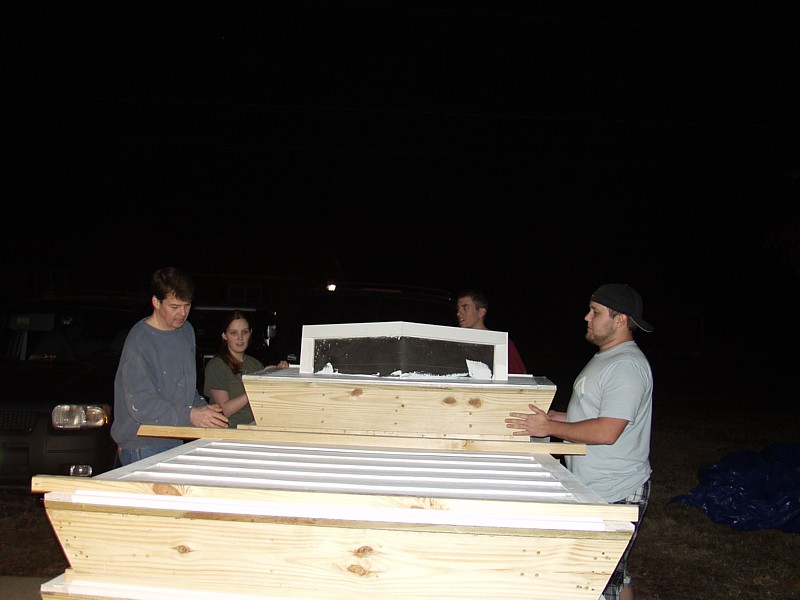
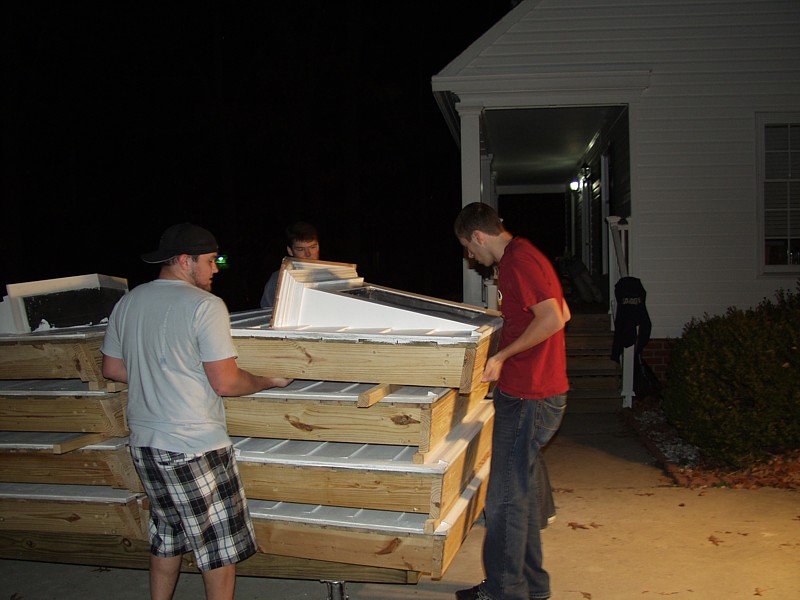
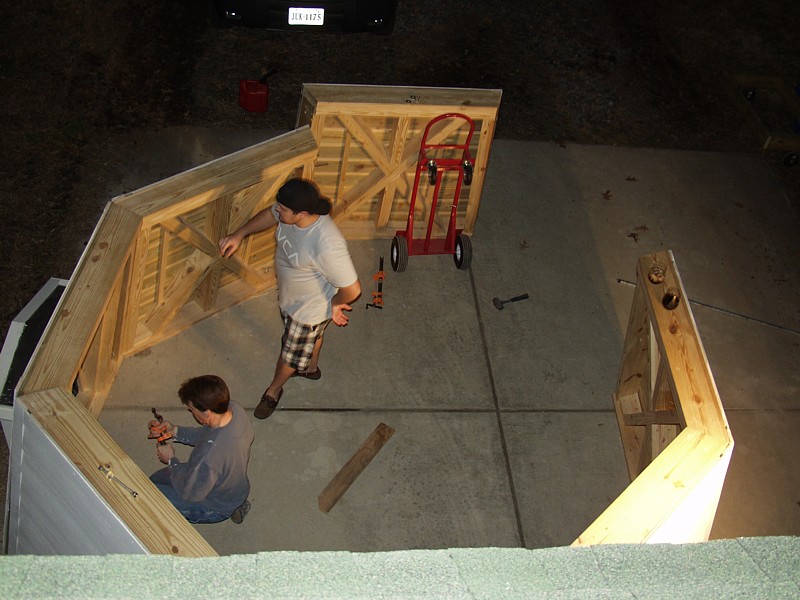
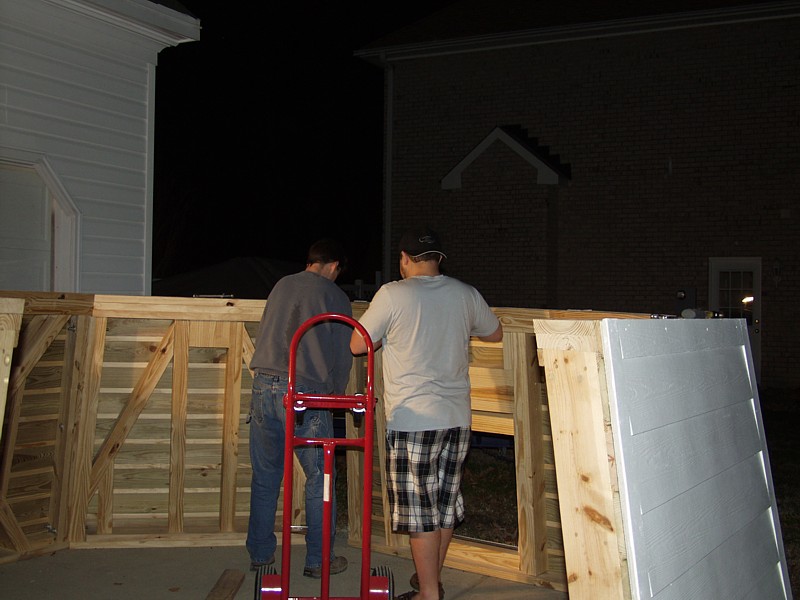
Because the building is designed to be completely portable, you don't really know whether
everything is going to work together until you assemble it. So late in the evening, I invited
over a crack team of assembly professionals (software developers and college students) who helped
dry fit the second level.
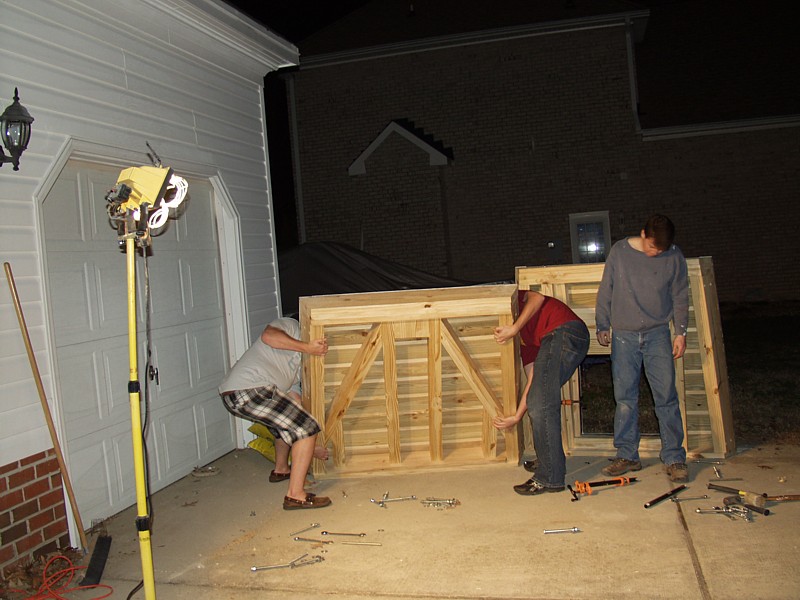
Patrick White of Jefferson Lab, described the project as 'the world's coolest tree house --- without
a tree...'
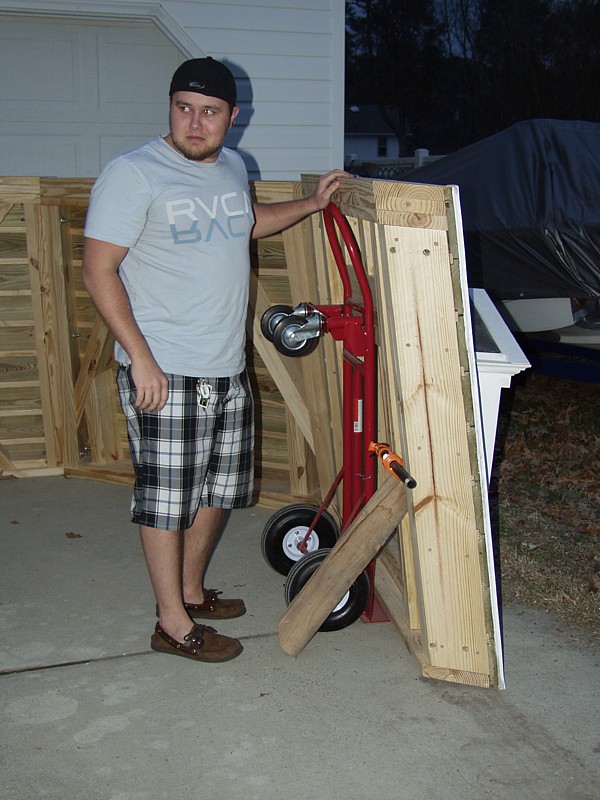
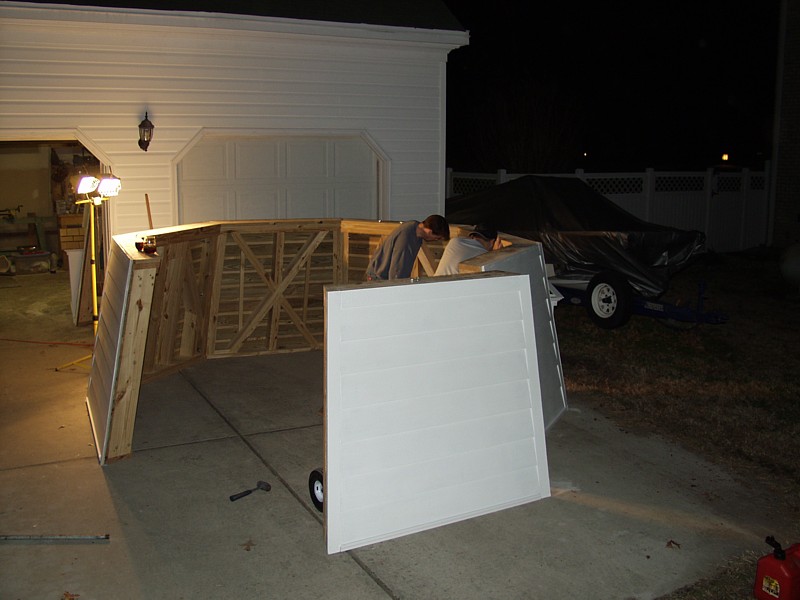

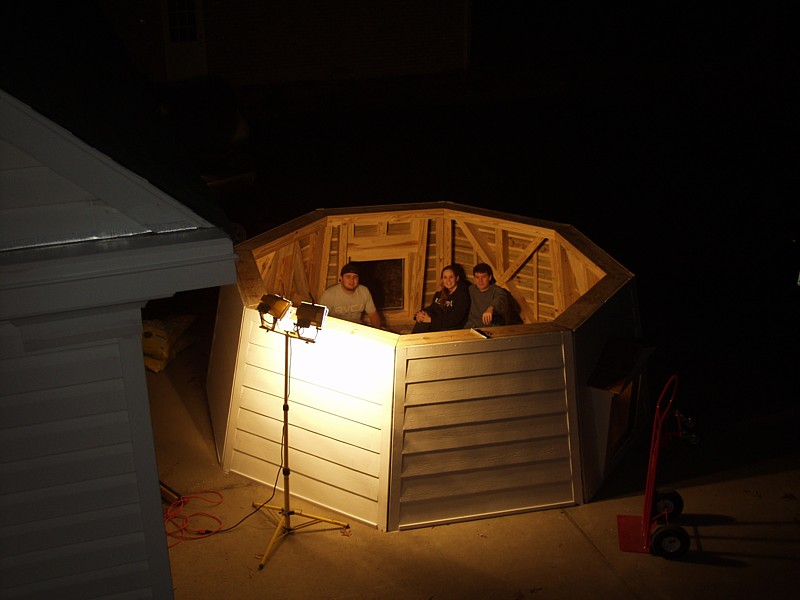
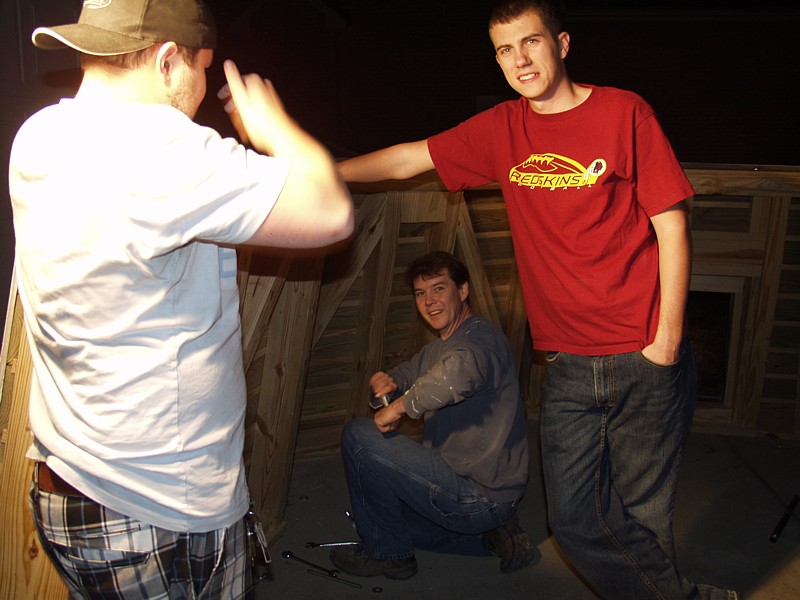
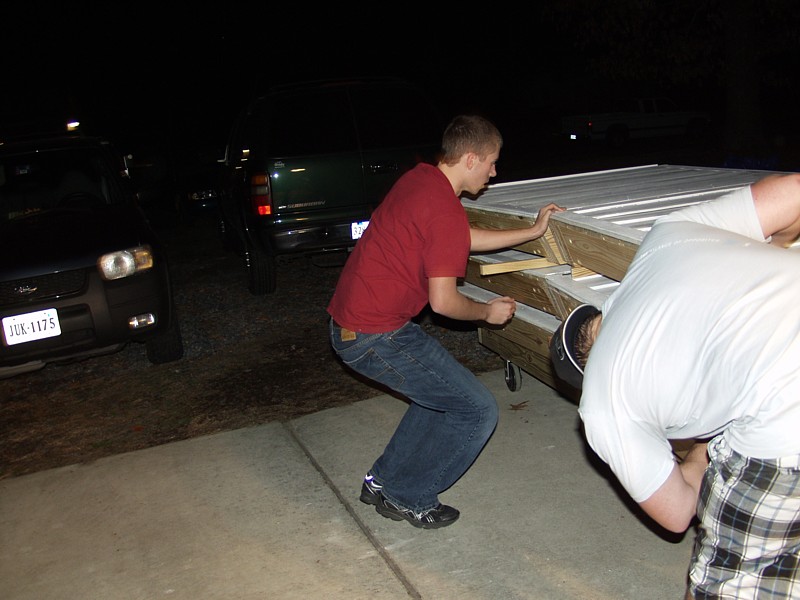
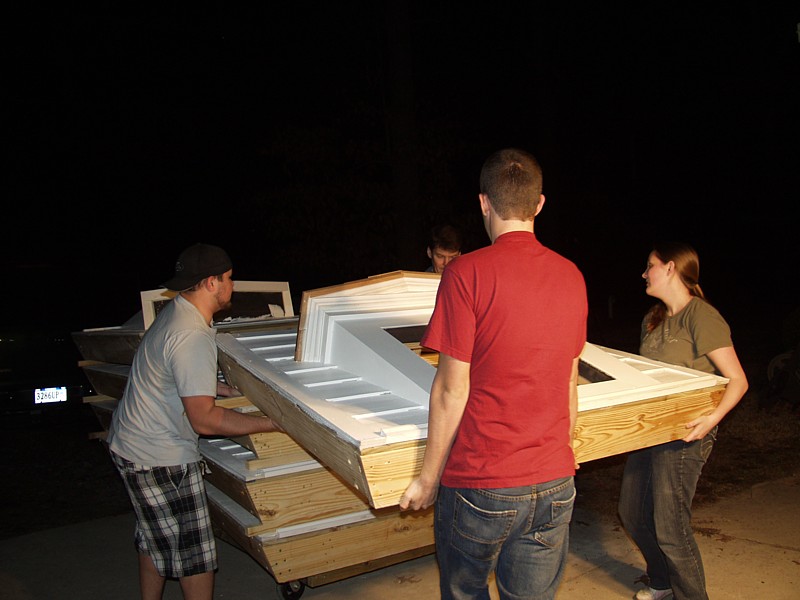
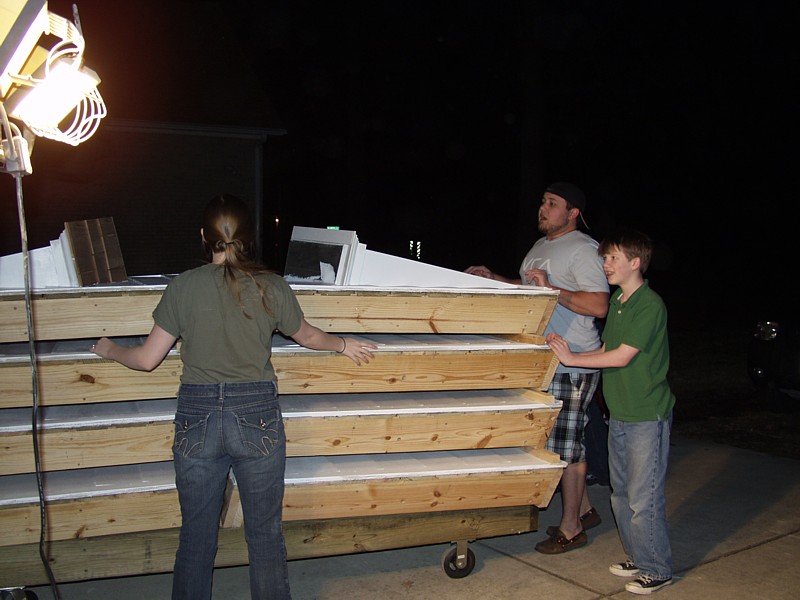
Of course, when you're building a portable windmill exhibit in your front yard, space is at a premium.
So with the help of our mighty team of assemblers (now called disassemblers), we tour the second level
down and stacked it on a transport dolly to await installation day...'
Special thanks to the following volunteers for their help in bringing together the second floor:
| Jefferson Lab
| James Madison University
| Troop 123 of Seaford, Virginia - Boy Scouts of America
| Old Dominion University
| Jefferson Lab/The Twisted Oaks Foundation
| Jefferson Lab/The Twisted Oaks Foundation
| |