|
|
Neck Bearing Assembly | January 11th, 2009 |
While a technoligical marvel, the neck bearing assembly is different from
all of the other components that have been built thus far. First, because
of it's location in the cap of the windmill, it is likely to receive some
weather exposure --- consequently, it is constructed from pressure treated
southern yellow pine rather than oak. Secondly, unlike all of the other
mechanical components, the neck bearing will not be visible after it has
been installed in the cap...
This might make one wonder why so much time was spent in sanding, varnishing
and polishing this piece... The answer to that is easy, quality was important
to all of the volunteers who worked on the project... and the things you can't
see are just as important as the things you can.
The following team of participants were responsible for building the neck
bearing assembly:
| Troop 123 of Seaford, Virginia - Boy Scouts of America
| Troop 123 of Seaford, Virginia - Boy Scouts of America
| Troop 123 of Seaford, Virginia - Boy Scouts of America
| Thomas Nelson Community College
| Citizen of York County
| Old Dominion University
| Jefferson Lab/The Celebrate Yorktown Committee
| Jefferson Lab/The Yorktown Foundation
| |
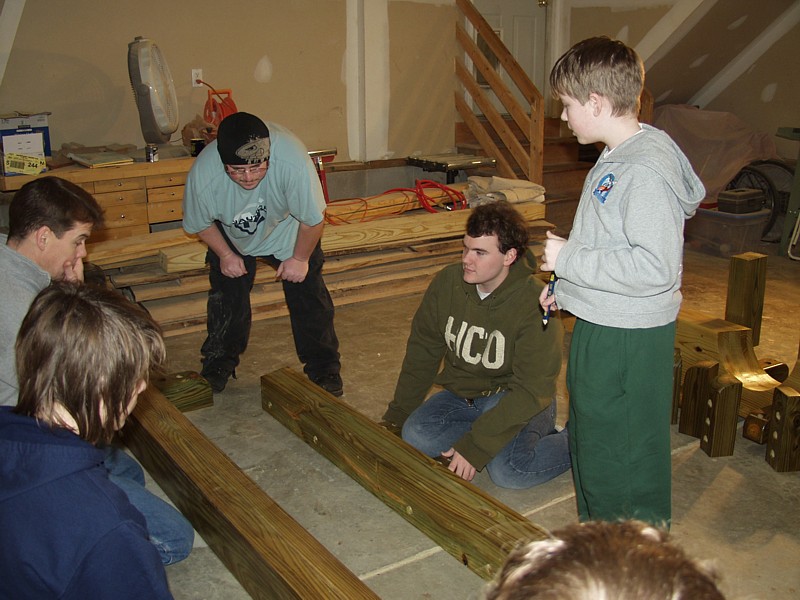
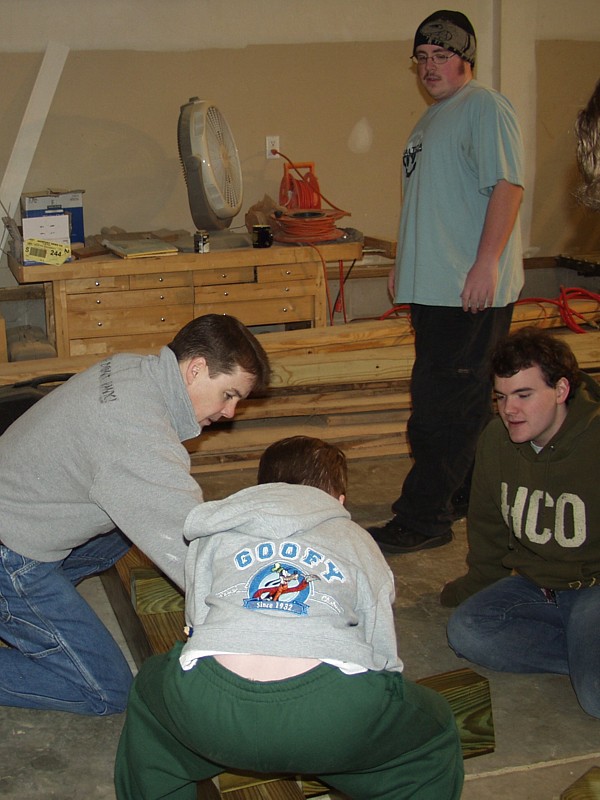
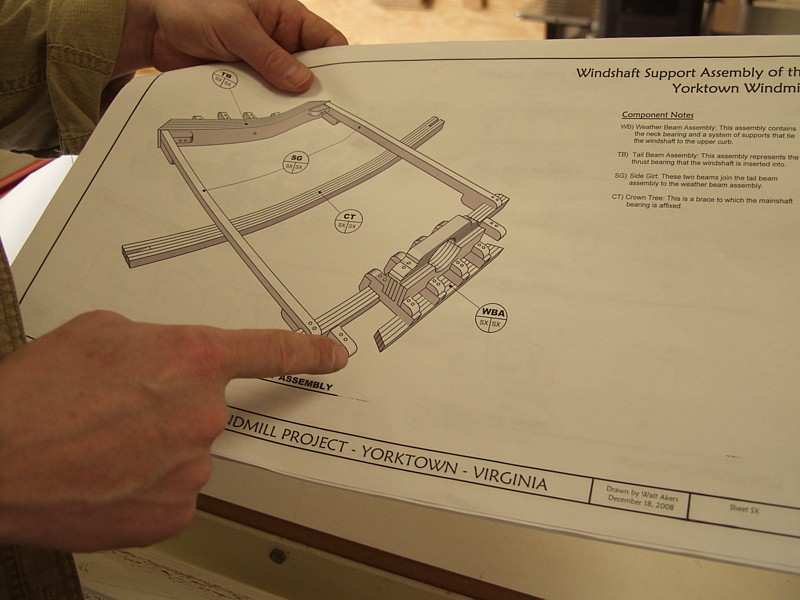
Like all of the components in this project, the neck bearing assembly
started with a plan, a pile of wood and a team of volunteers. Click on the
drawing below to see an animation of the neck bearing and all of it's
components.


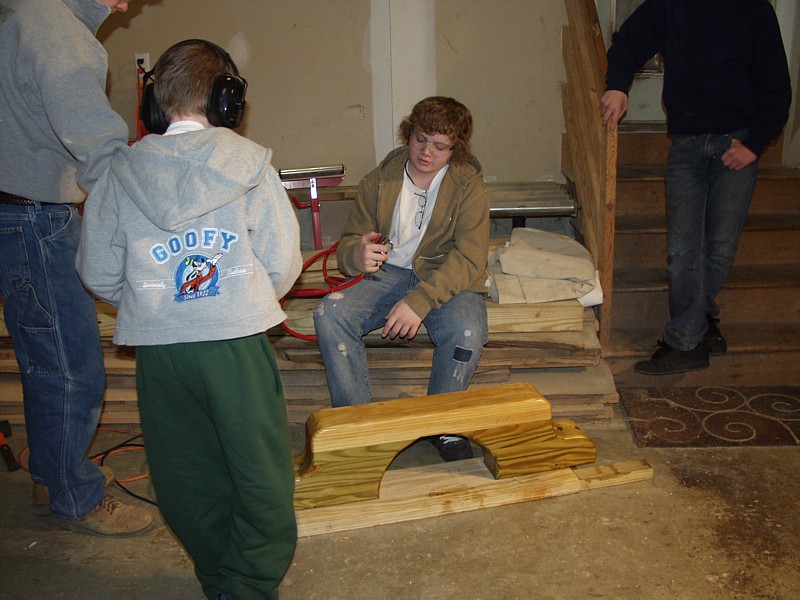
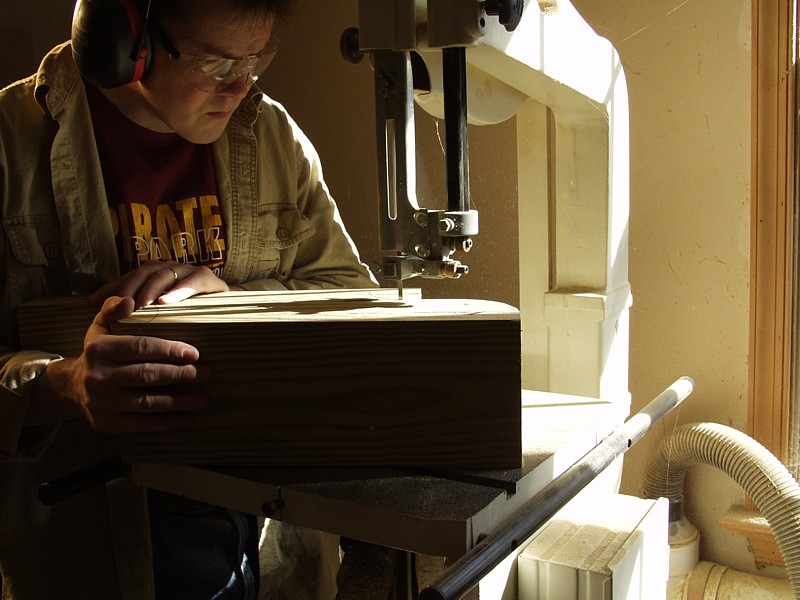
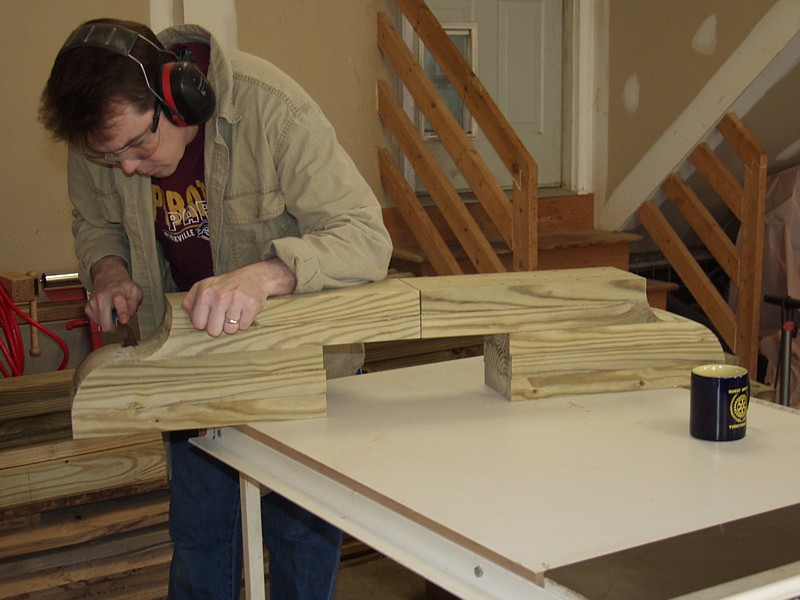
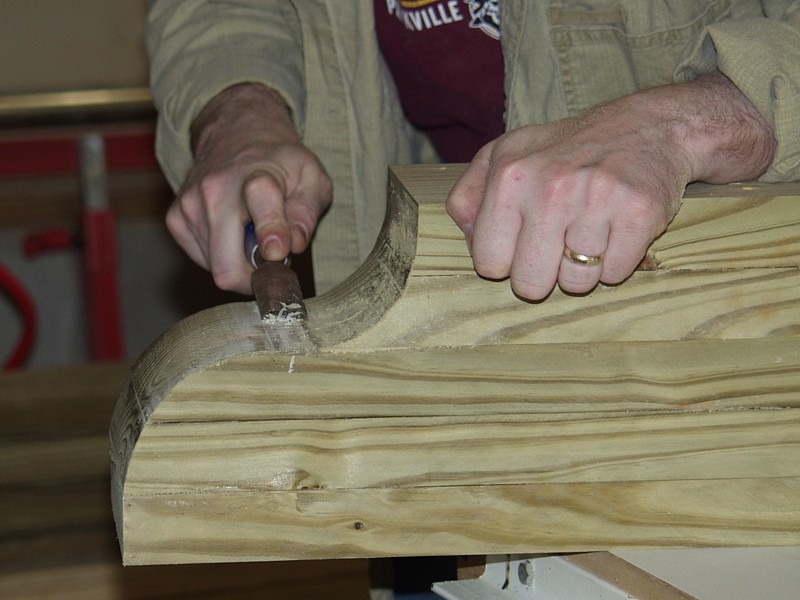
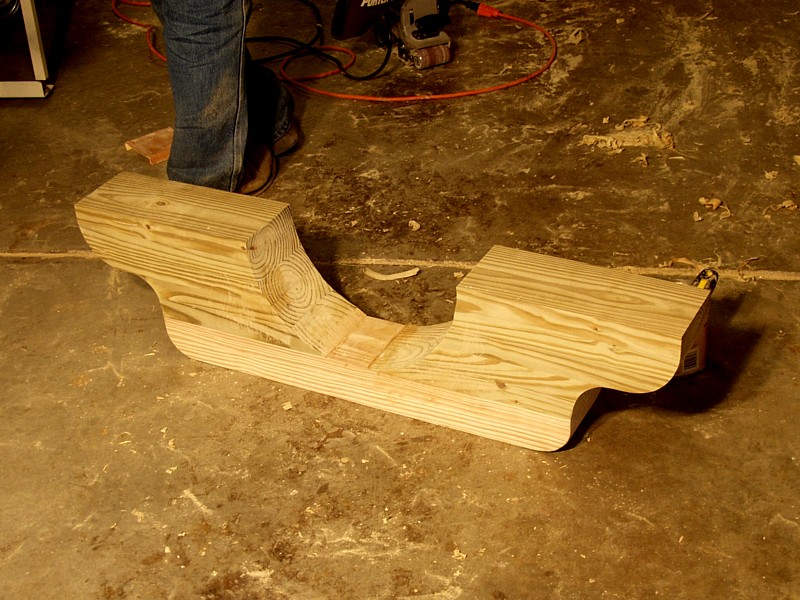
Of all of the parts on the neck bearing assembly, the yoke is the one with
the most elegant curves. After roughing the curves on the bandsaw, the next
step was to smooth the cuts with a sharp chisel before sanding. The spoke shave
was especially helpful in cleaning out the inside of the neck...

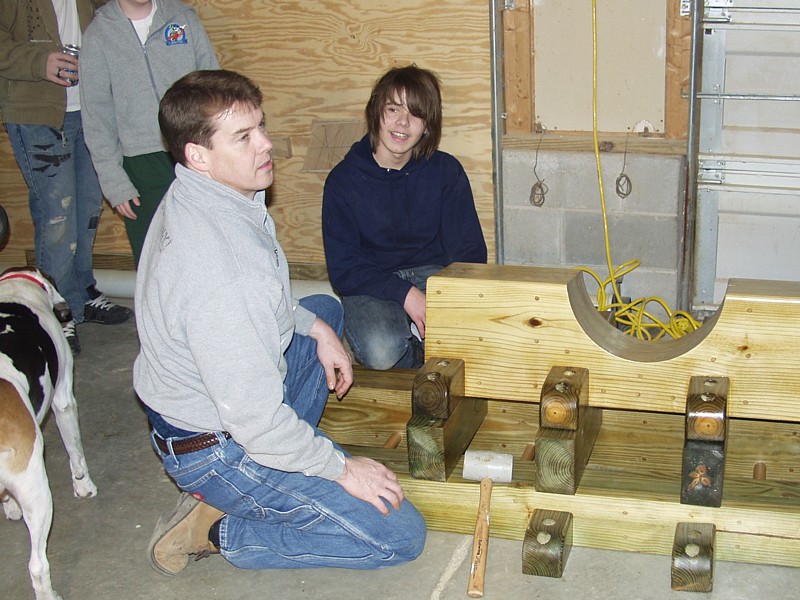
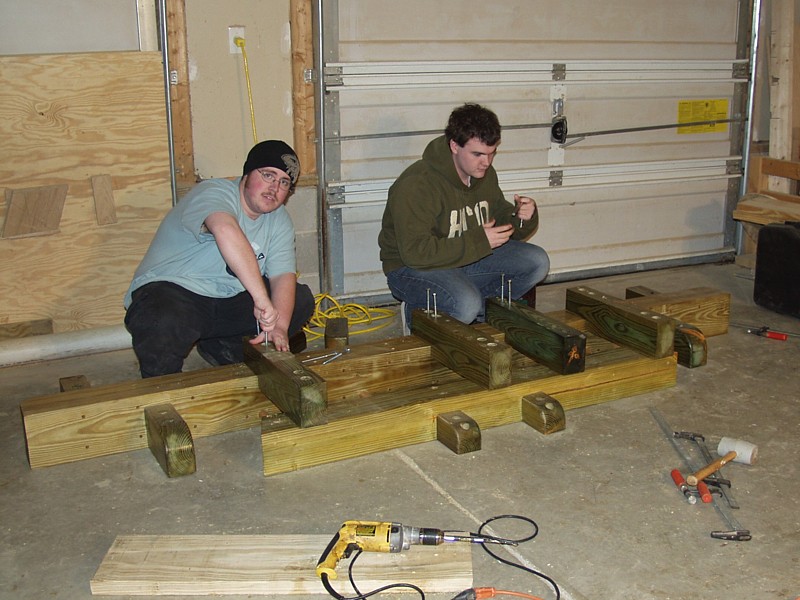
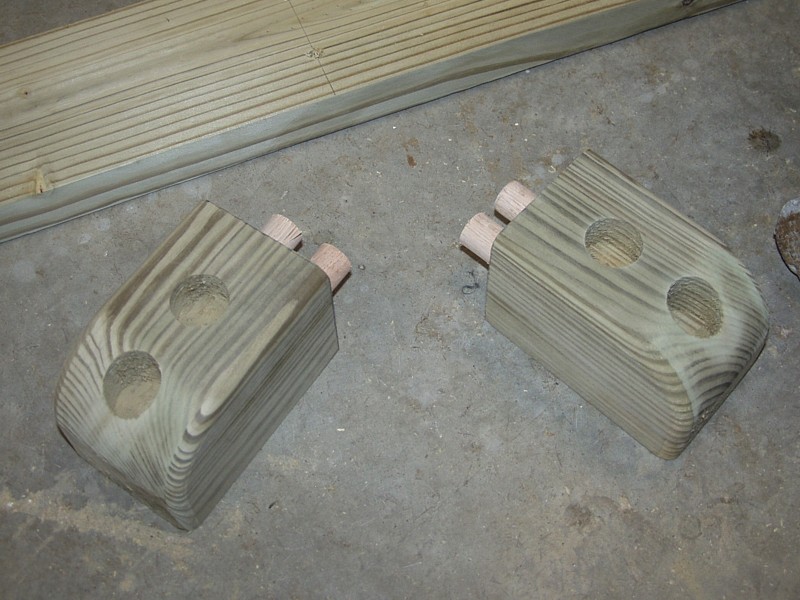
Because a variety of wooden braces are used top tie the neck bearing assembly
to the upper curb, special attention was taken to ensure their strength and
stability. In addition to being affixed to the beams as shown (with glue and
pegs), they also received galvanized screws and metal fasteners from the
backside of the board.
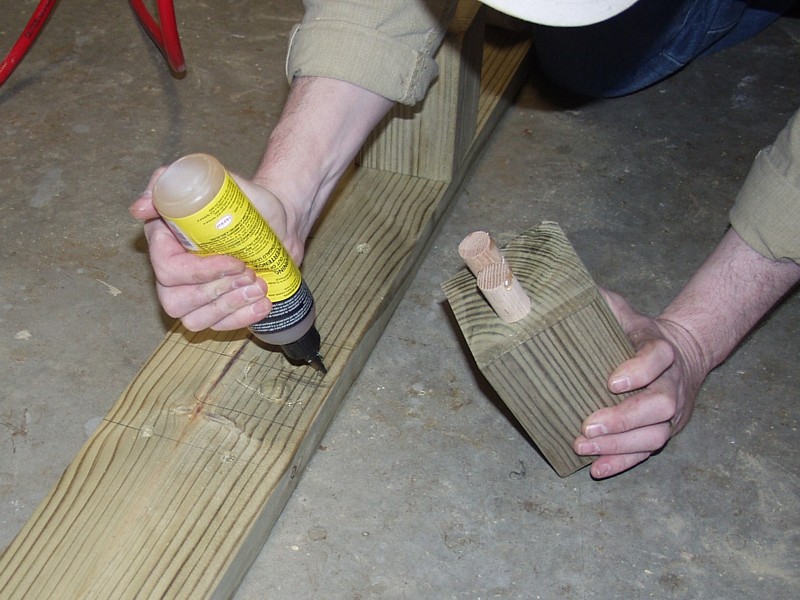
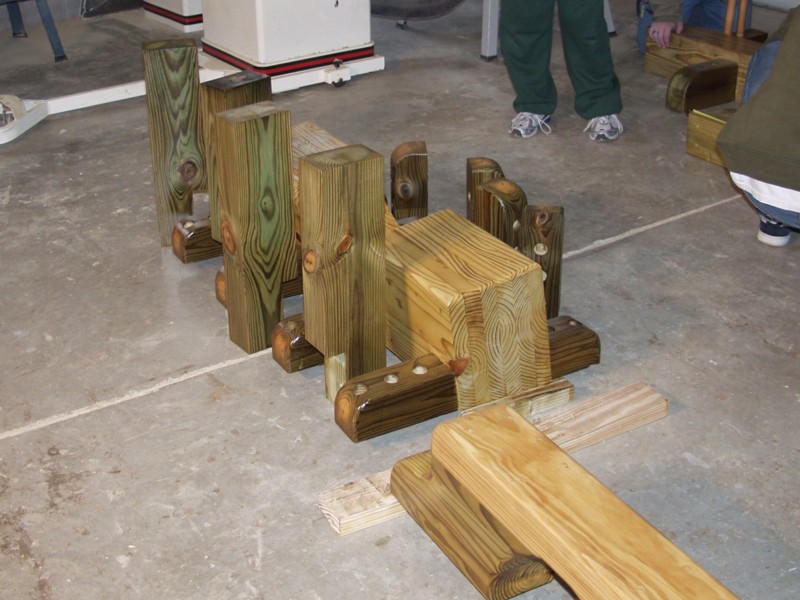
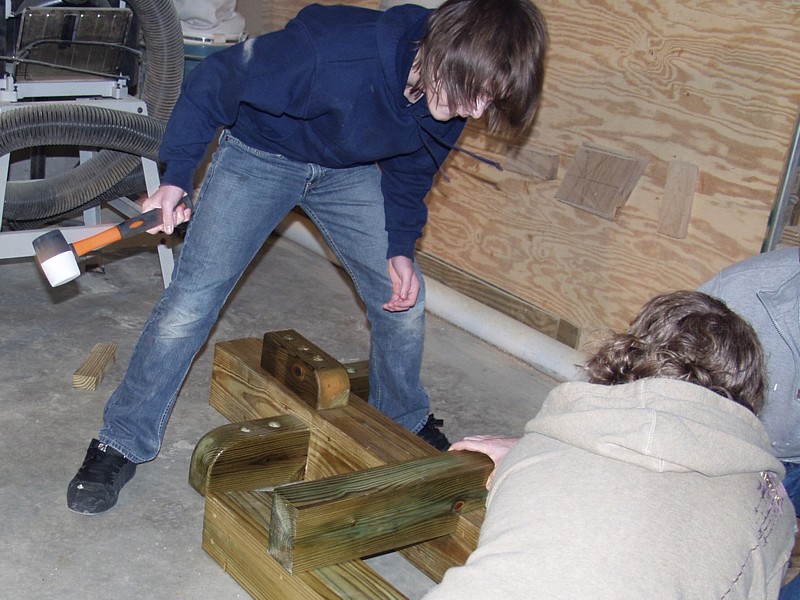
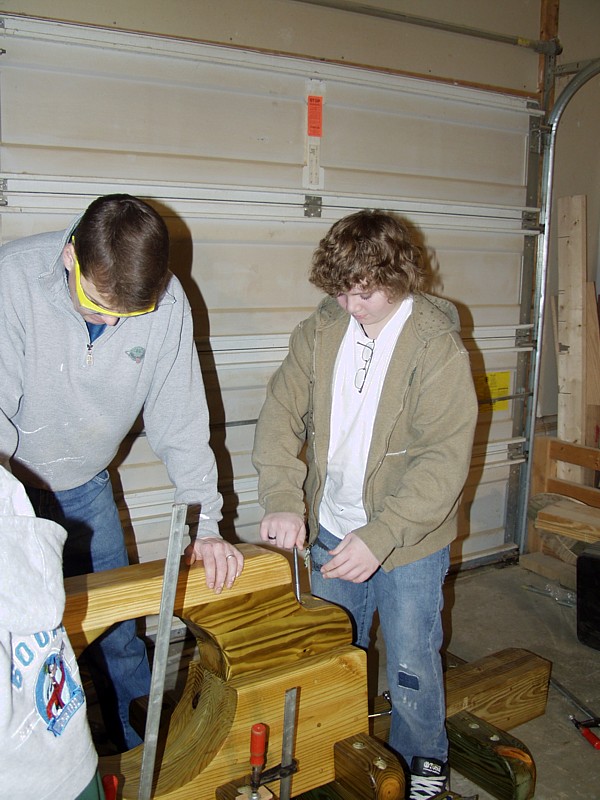
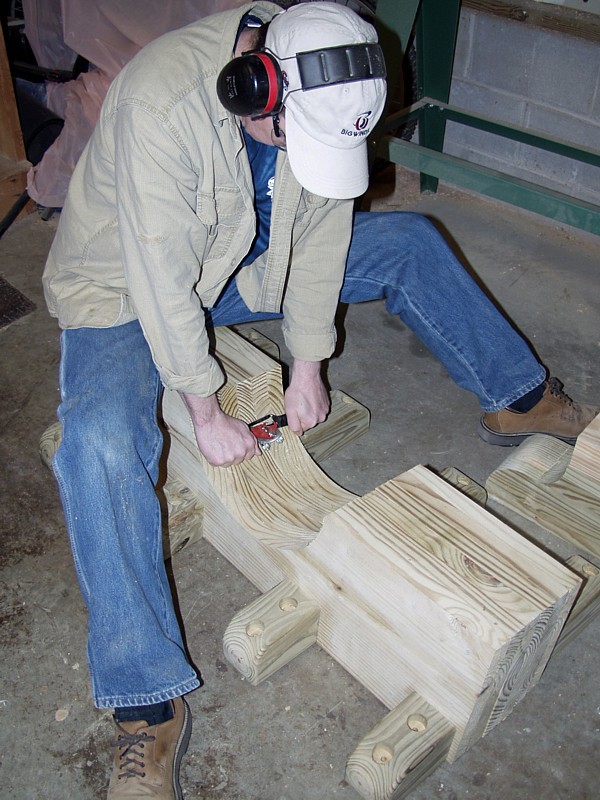
Even though every component was cut as close as possible to the specification,
there are always a few boards that must be trimmed and holes that must be
drilled at assembly time. By it's nature, pressure treated lumber is prone to
significant shrinkage in the first few months, so it's best to wait until the
last possible minute to lock things in place --- and always leave room for
movement.
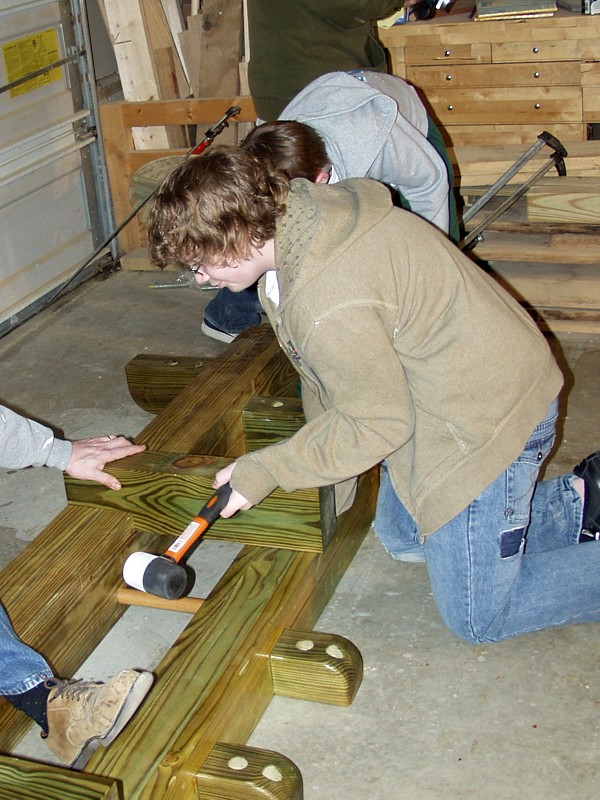
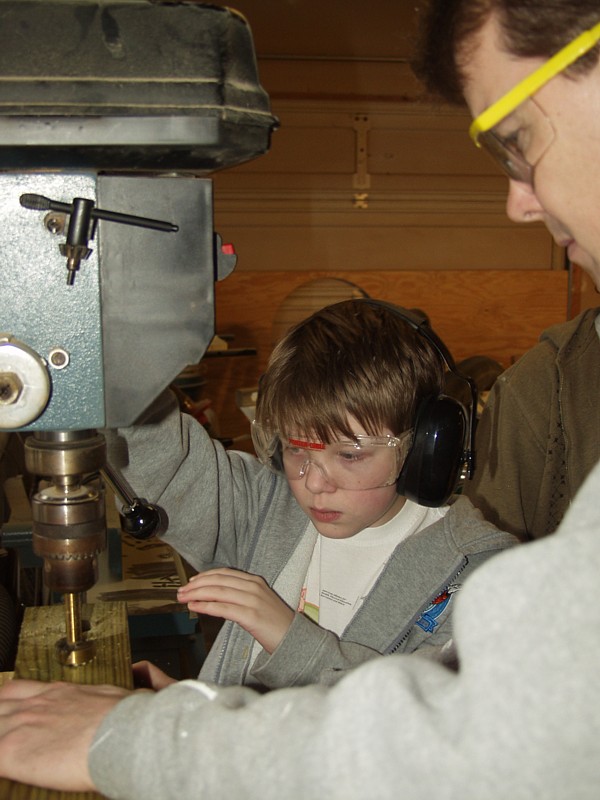
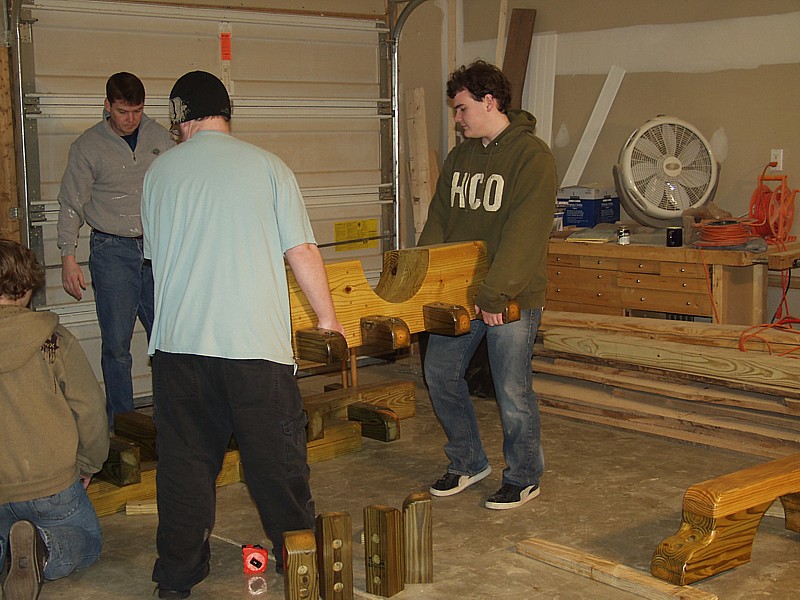
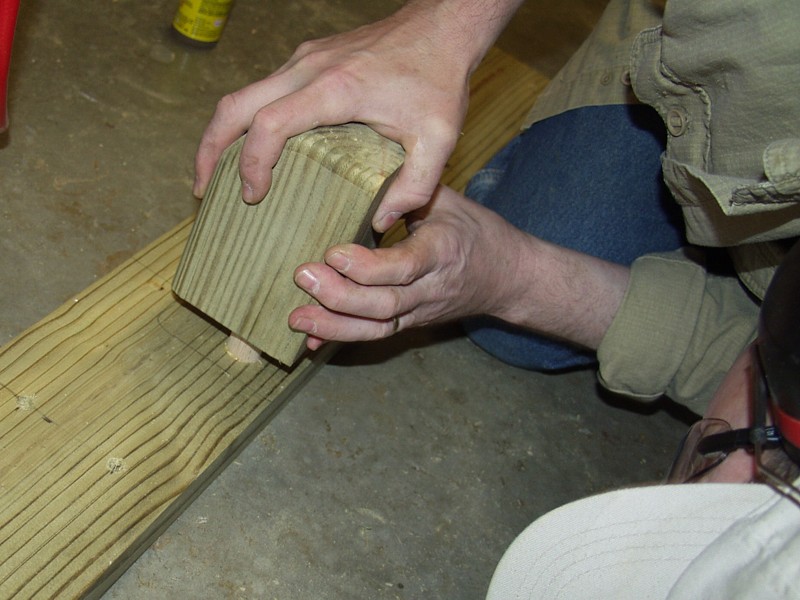
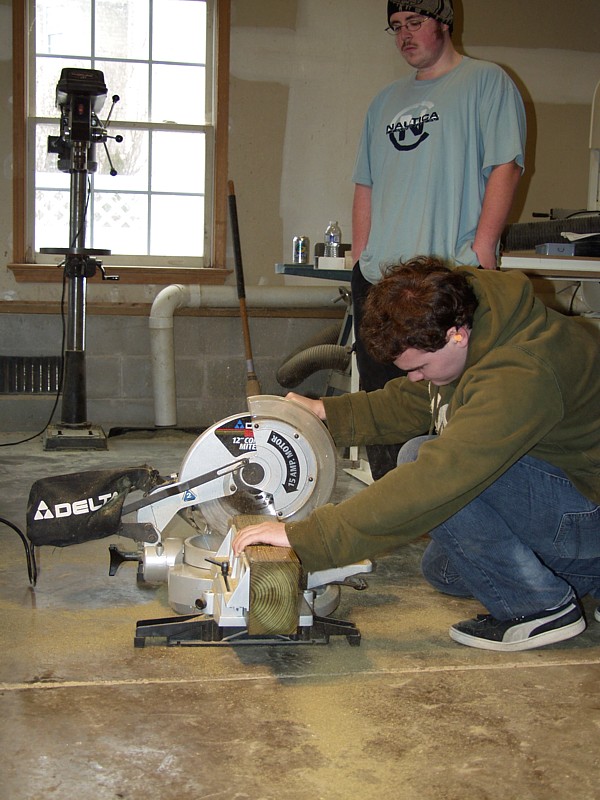
Our volunteers are seen here trimming the bearing ties and drilling expansion
holes in the yoke before they are bolted together.


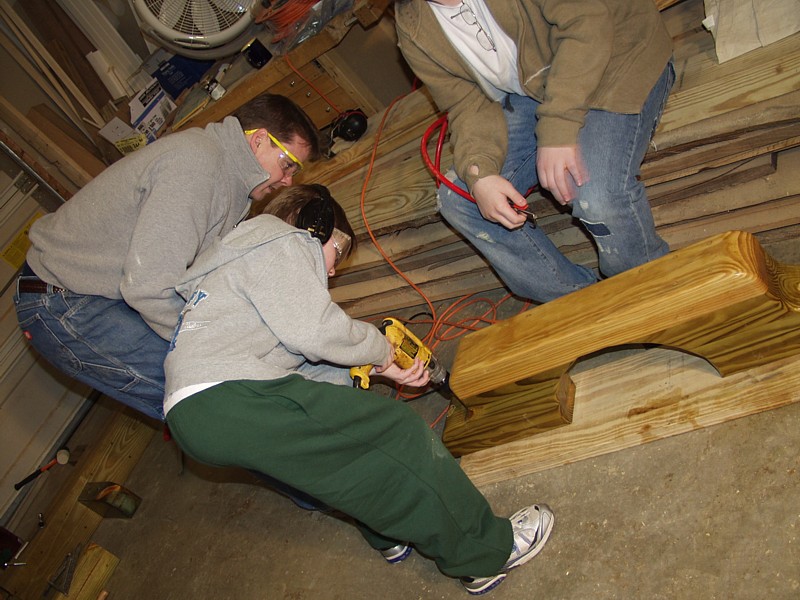
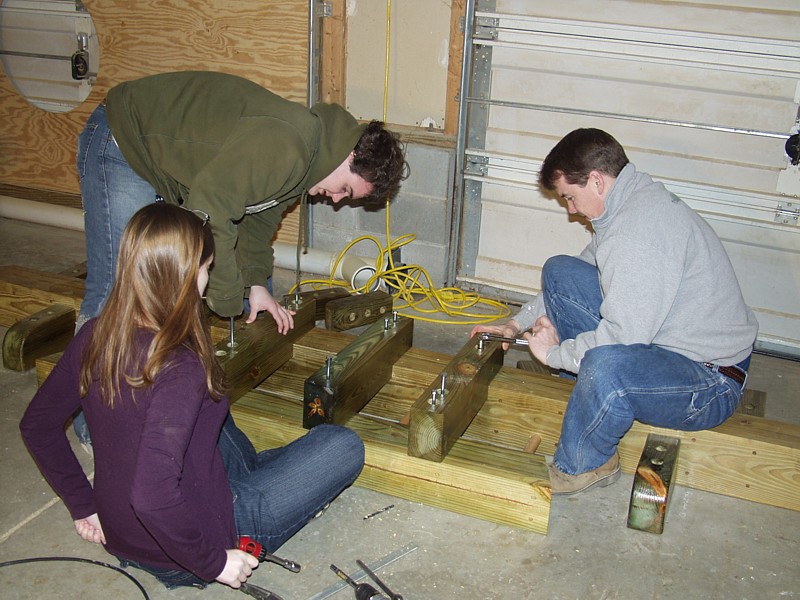
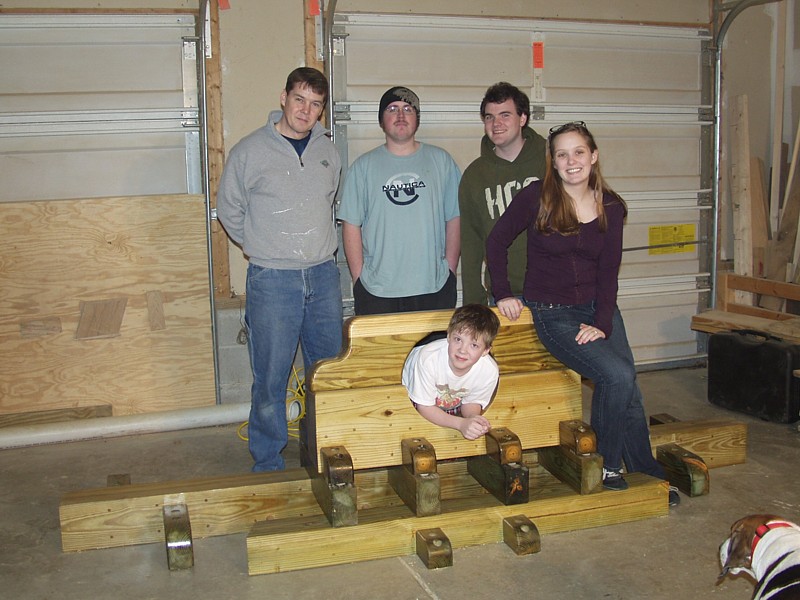
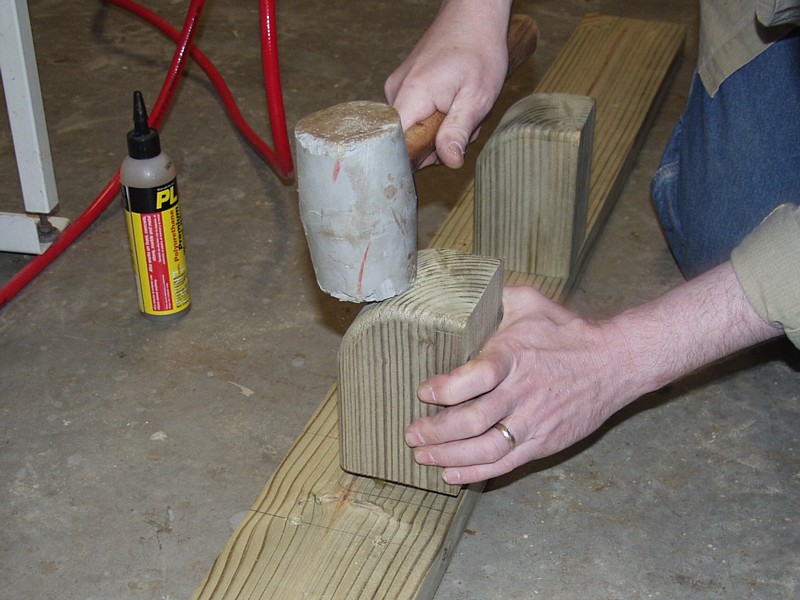
Once all the pieces were tested for proper fit, we broke out the rubber
mallets, clamps and wrenches and performed the final assembly on the
contraption. Although several of our younger participants had to return
home before the last screw was driven, they all helped immeasurably in
bringing the project to completion.